Customization
READ FIRST - Customization Guideline
Contact for Support: contact@papathemes.com
How to add your own CSS / SCSS:
- Option 1: Edit file
assets/scss/_lightnight-custom.scss - Option 2: Add custom CSS in
<style>...</style>into Storefront > Footer Scripts.
How to add your own Javascript:
- Option 1: Add custom JS in
<script>...</script>into Storefront > Footer Scripts. - Option 2: Add custom JS into Storefront > Scripts Manager.
Edit HTML:
ONLY edit file templates/lightnight-custom.html
WARNING: EDIT OTHER FILES WILL PREVENT UPGRADING THE THEME IN THE FUTURE!
Headers
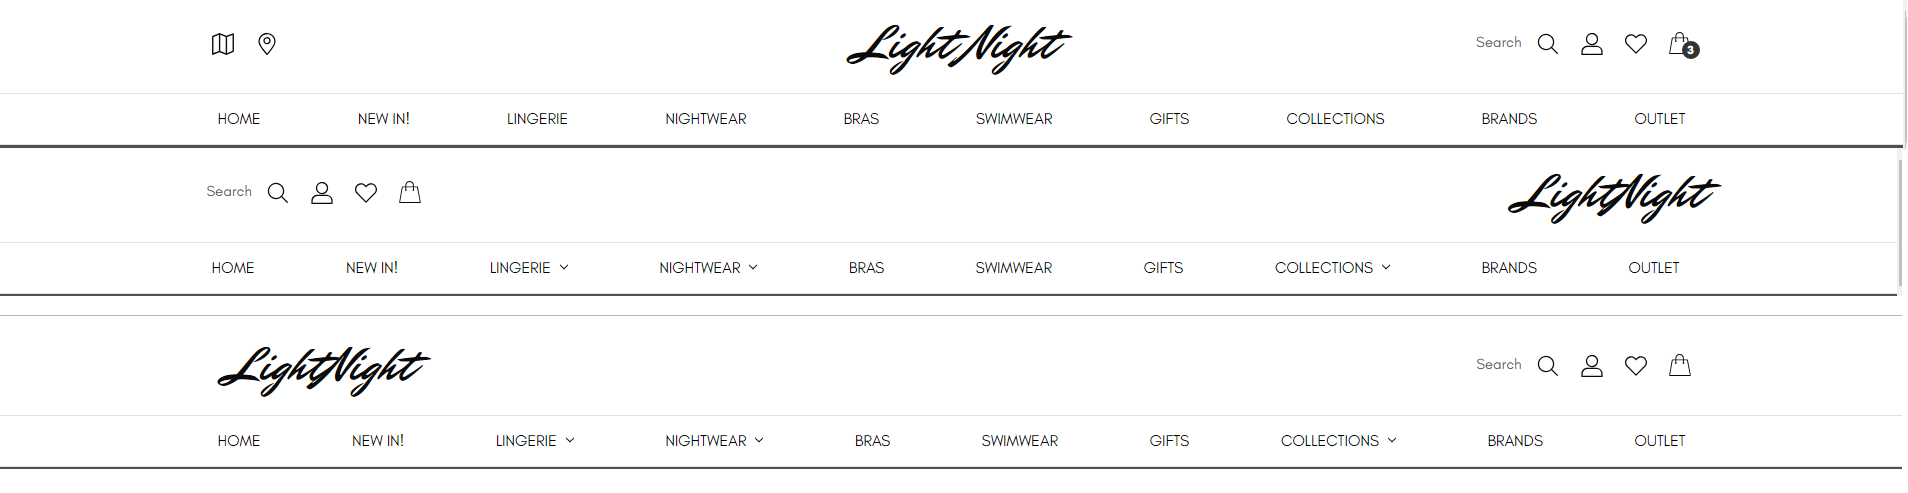
Theme supports 2 header with logo position left or right. It is configured in Theme Editor > Header & Footer > Logo position.
You can configure Header style, logo size, colors, fonts in Theme Editor > Header & Footer.
Mega Menu vs. Standard Menu
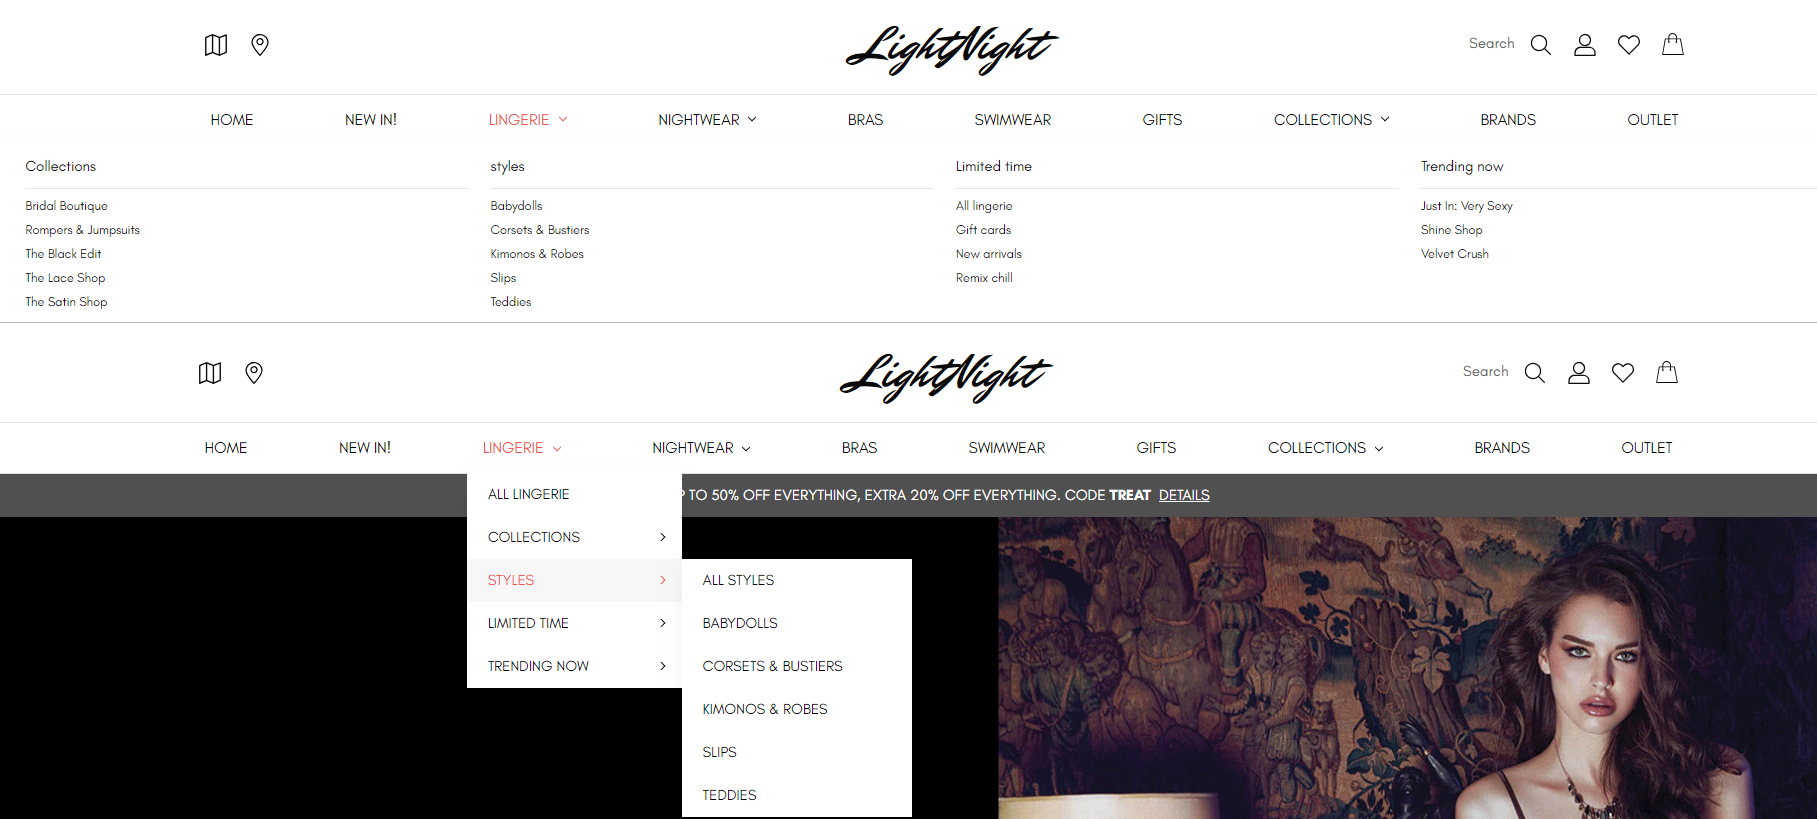
Theme supports both Mega Menu and Standard Menu. You can configure in Theme Editor > Header & Footer > Main Navigation > Navigation design.
The menu is automatically popuplated from your product categories and web pages (in Storefront > Web Pages). You can hide all web pages on this menu by tick on the option Hide web pages in main navigation in Theme Editor > Header & Footer.
Top Banner
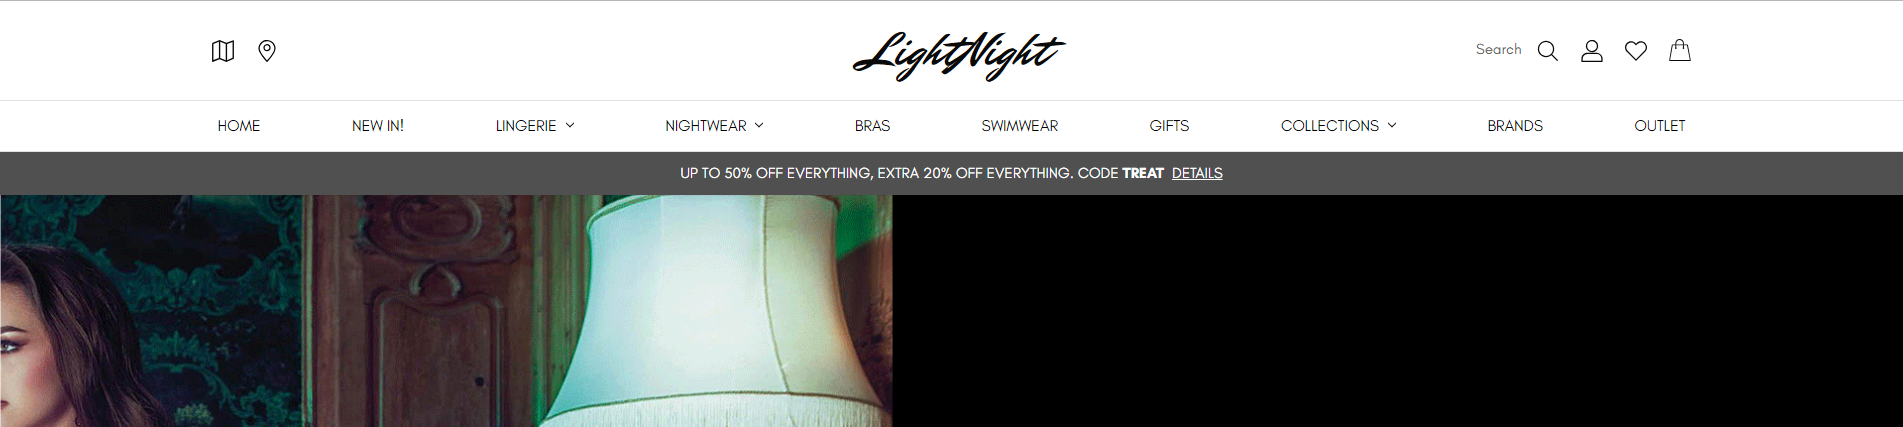
You can edit the top banner on the homepage, category pages, product pages in Marketing > Banner Manager.
Footers
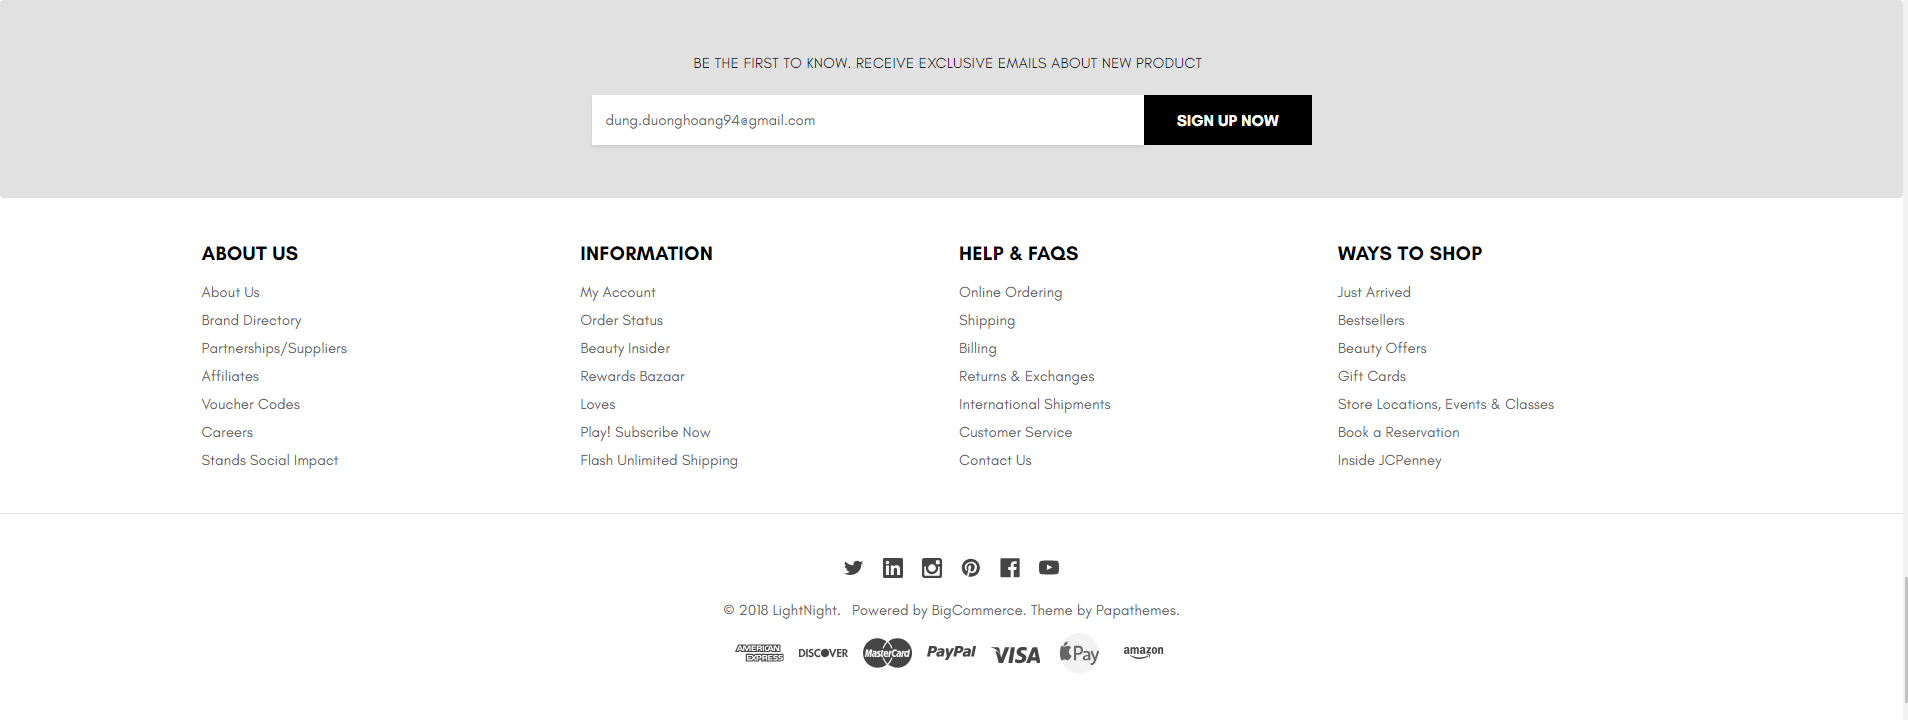
Configure the footer in Theme Editor > Footer section.
- You can change colors.
- Show/hide web page links, categories, brands.
- Add custom links in maximum 4 columns.
- Newsletter form support top or right position of the footer.
- Change colors of the copyright section.
- Show/hide copyright links.
- Show/hide payment icons.
Homepage Main Carousel
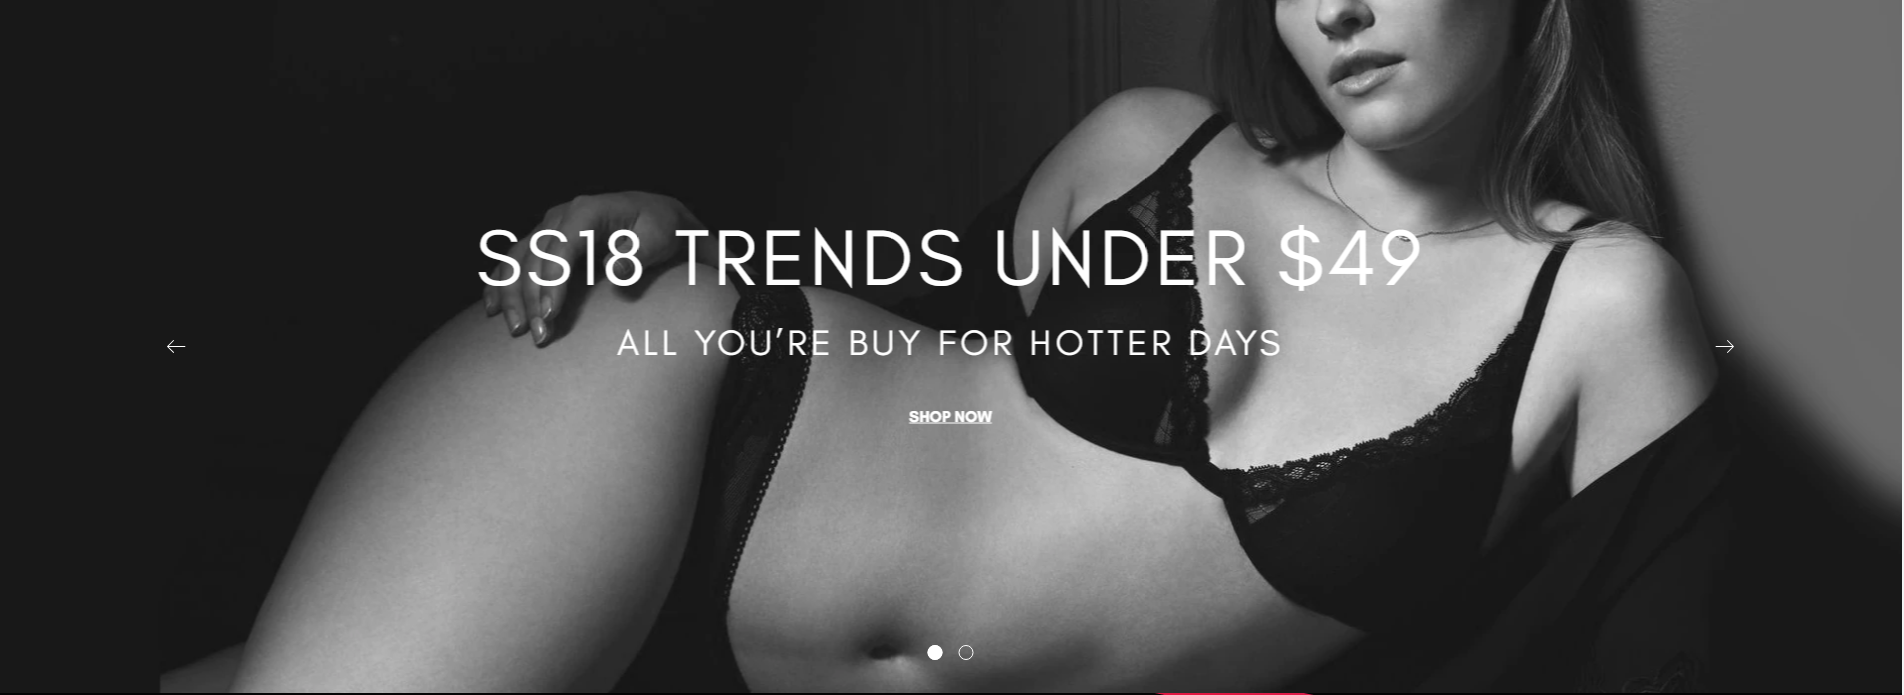
Main carousel displays on the home page can be input in Storefront > Home Page Carousel.
You can configure carousel settings in Theme Editor > Home Page > Carousel section. Here you can turn on/off this carousel, configure colors, content position and so on.
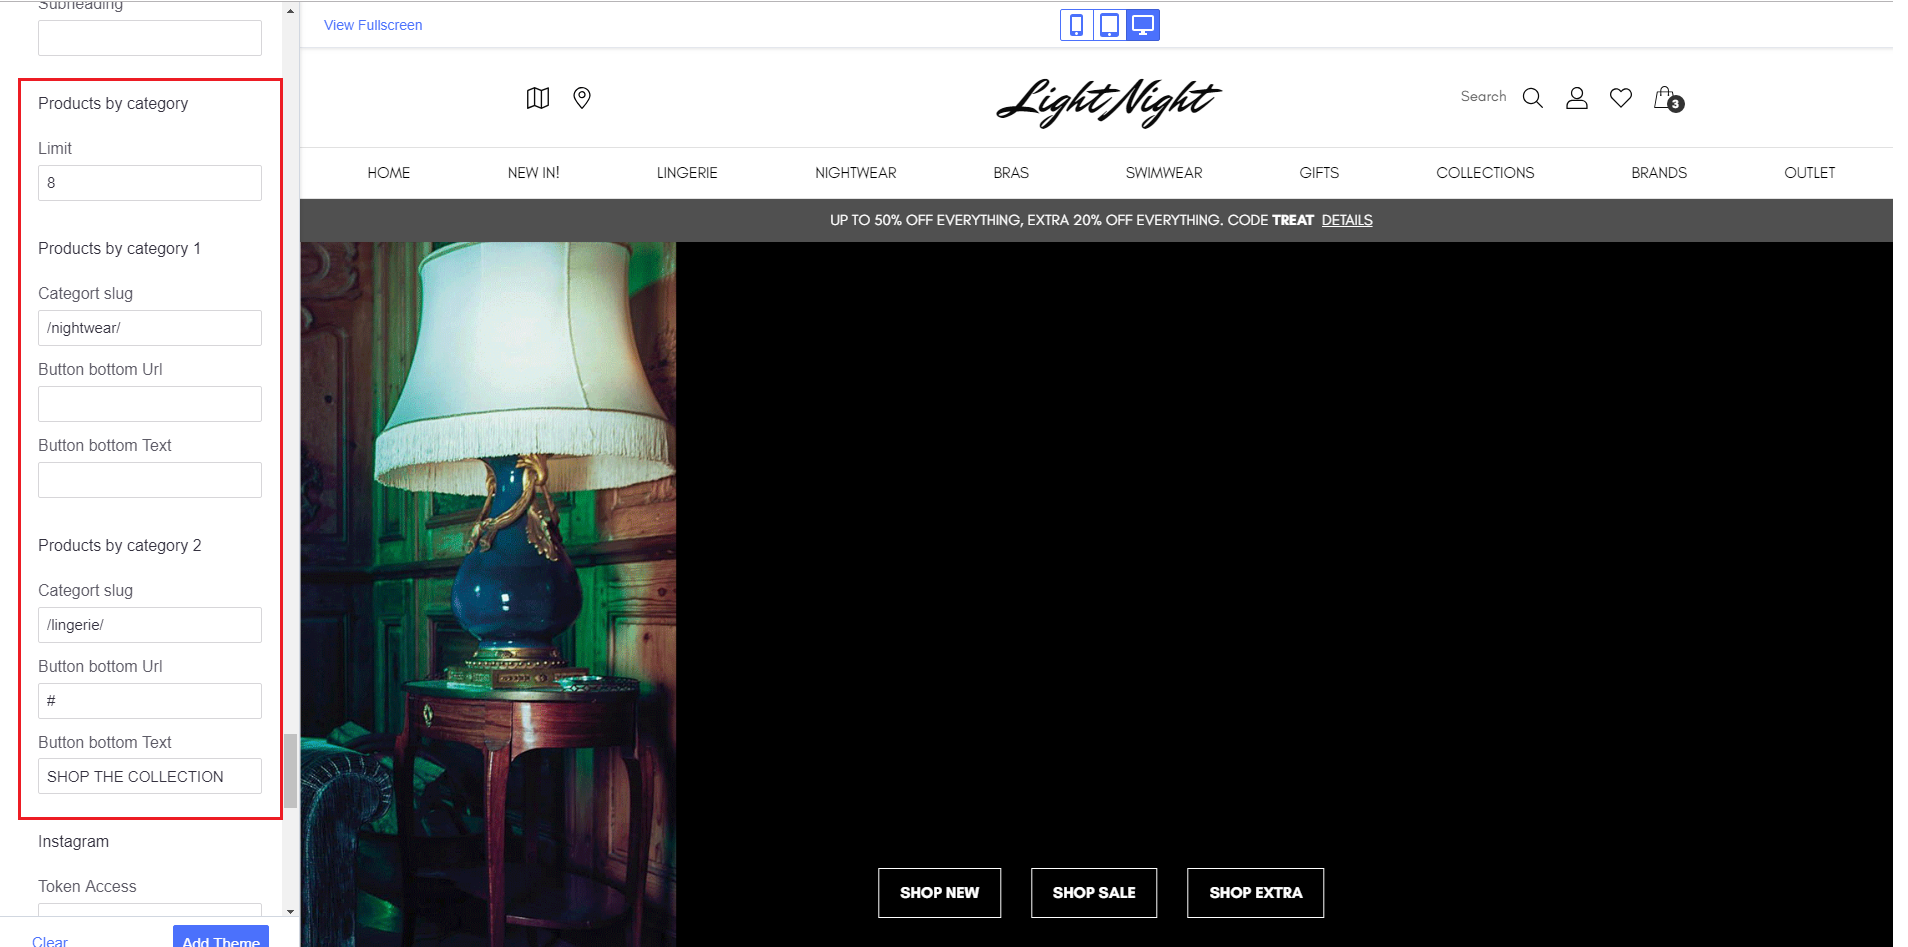
Homepage Product by Category
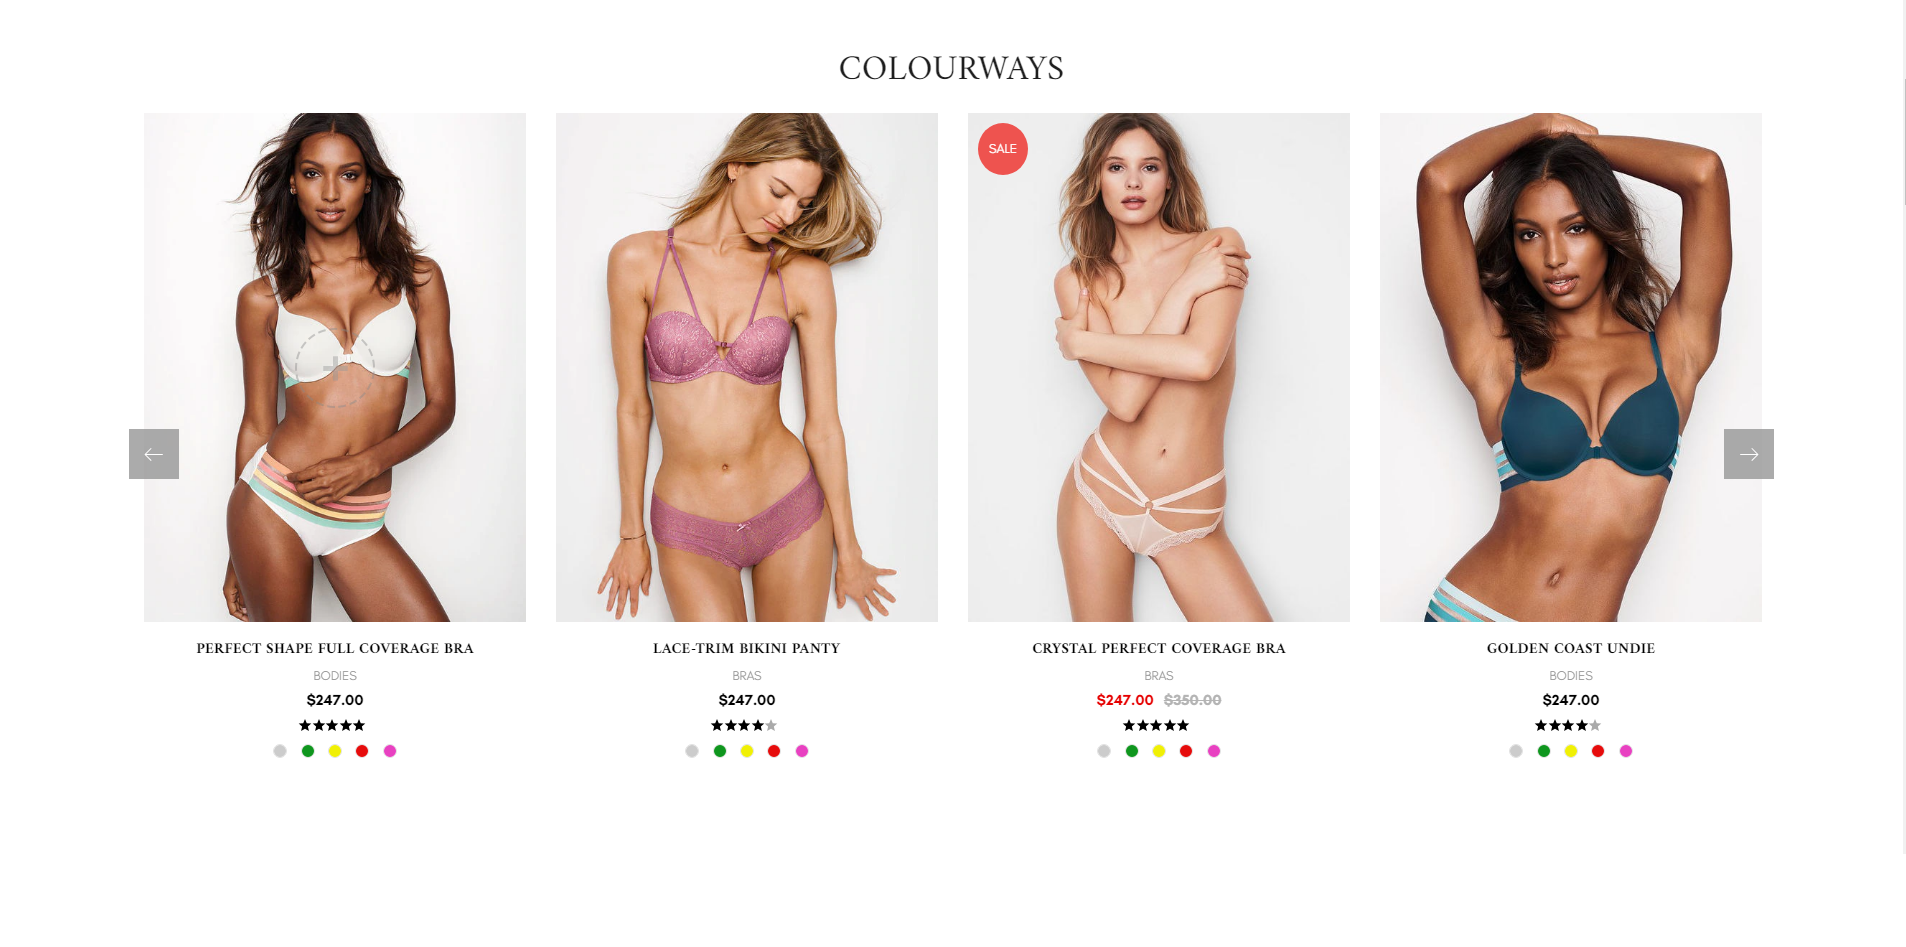
Edit banner in Theme Editor > Homepage > Product by Category.
- You can change limit product, category slug and button bottom to display.
Homepage Banners
There are 4 Section Banners in homepage
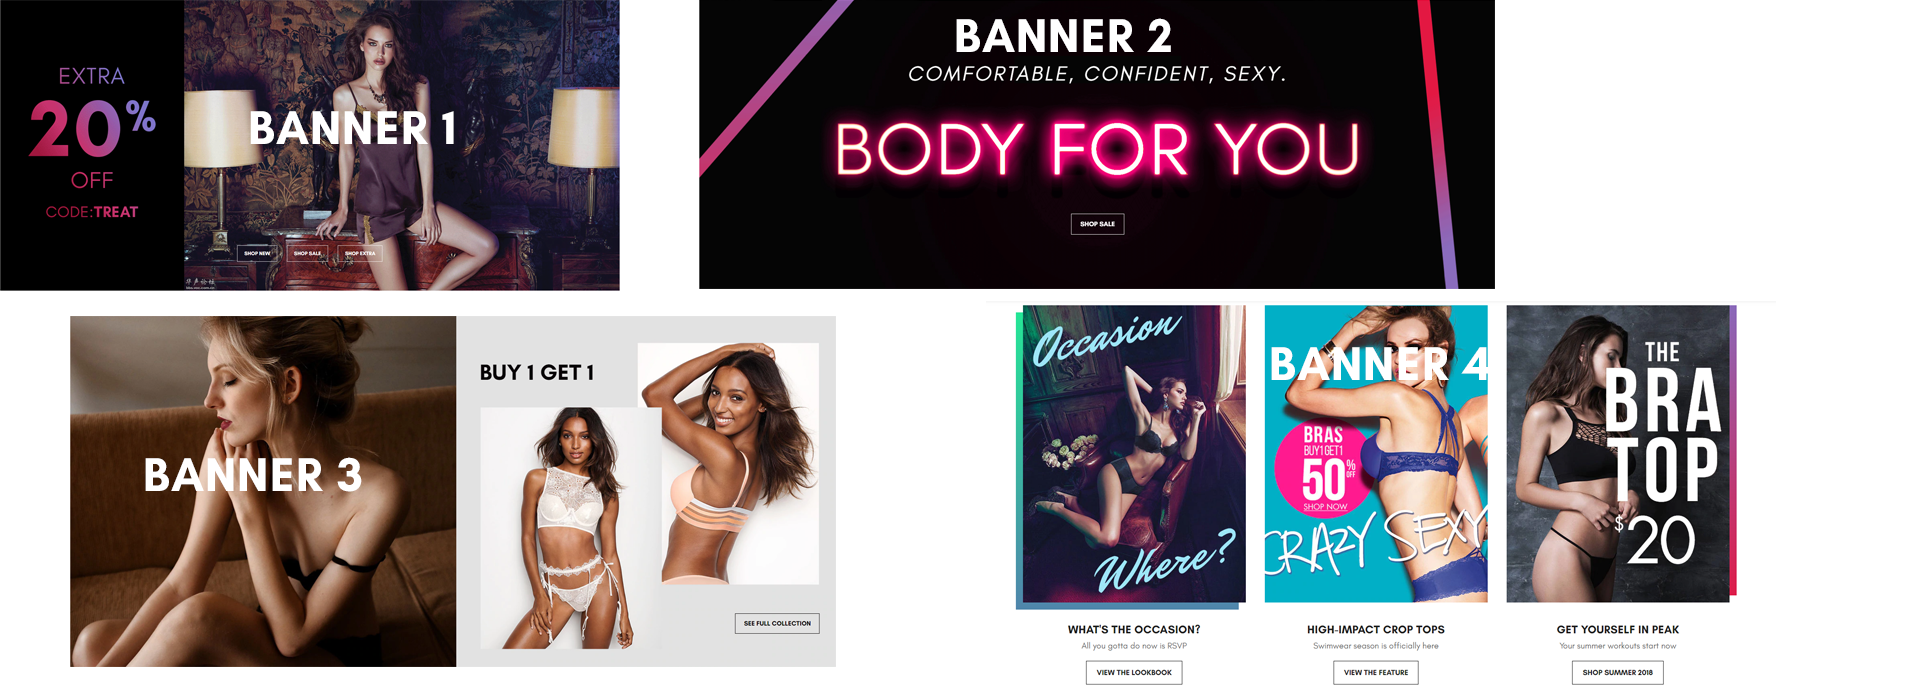
To display the banner, create a new banner in Marketing > Banners:
- Banner Name:
banner name - Banner Content: Click on the HTML to edit HTML source.
Source code for banner 1
<div class="lightnight-section lightnight-section--banner lightnight-section--banner--banner1" data-local-banner-position="lightnight-home-banner1">
  <div class="lightnight-banner lightnight-banner--full">
    <div class="banner-left">
      <div class="banner-content">
        <ul class="banner-action-inline-list">
          <li><a title="Shop new" class="button" href="#">Shop new</a></li>
          <li><a title="Shop Sale" class="button" href="#">Shop Sale</a></li>
          <li><a title="Shop Extra" class="button" href="#">Shop Extra</a></li>
        </ul>
      </div>
    <div class="banner-item">
      <img src="/product_images/uploaded_images/banner1.gif" alt="banner2.gif" />
    </div>
  </div>
</div>
Or use button below to generate HTML code with your custom content:
Source code for banner 2
<div class="lightnight-section lightnight-section--banner lightnight-section--banner--banner2" data-local-banner-position="lightnight-home-banner2">
  <div class="lightnight-banner lightnight-banner--full">
    <div class="banner-left">
      <div class="banner-content">
          <h4 class="banner-title">Comfortable, confident, sexy.</h4>
          <a href="#" class="button" title="Shop sale">Shop sale</a>
      </div>
    <div class="banner-item">
      <img src="/product_images/uploaded_images/banner2.gif" alt="banner2.gif" />
    </div>
  </div>
</div>
Or use button below to generate HTML code with your custom content:
Source code for banner 3
<div class="lightnight-section lightnight-section--banner lightnight-section--banner--banner3" data-local-banner-position="lightnight-home-banner3">
  <div class="lightnight-banner lightnight-banner--full">
    <div class="banner-left">
      <div class="banner-item">
        <img title="blog2.jpg" src="/product_images/uploaded_images/banner1.jpg" alt="banner1.jpg" />
      </div>
    </div>
    <div class="banner-right">
      <div class="banner-content">
          <h4 class="banner-title">Buy 1 Get 1 </h4>
          <a href="#" class="button" title="See full collection">See full collection</a>
      </div>
      <div class="banner-item">
          <img title="blog4.jpg" src="/product_images/uploaded_images/banner4.jpg" alt="banner4.jpg" />
      </div>
    </div>
  </div>
</div>
Or use button below to generate HTML code with your custom content:
Source code for banner 4
<div class="lightnight-section lightnight-section--banner lightnight-section--banner--banner4" data-local-banner-position="lightnight-home-banner4">
  <div class="lightnight-banner lightnight-banner--boxed">
    <h2 class="page-heading">more to love</h2>
    <div class="banner-list">
      <div class="banner-item">
            <div class="banner-image">
                <a href="#" title="View the lookbook">
              <img title="blog1.jpg" src="/product_images/uploaded_images/blog1.jpg" alt="blog1.jpg" />
                </a>
            </div>
        <h4 class="banner-title">What's the occasion?</h4>
    <p class="banner-desc">All you gotta do now is RSVP</p>
    <a href="#" class="button" title="View the lookbook">View the lookbook</a>
      </div>
      <div class="banner-item">
            <div class="banner-image">
                <a href="#" title="View the feature">
              <img title="blog2.jpg" src="/product_images/uploaded_images/blog2.jpg" alt="blog2.jpg" />
                </a>
            </div>
        <h4 class="banner-title">High-impact crop tops</h4>
    <p class="banner-desc">Swimwear season is officially here</p>
    <a href="#" class="button" title="View the feature">View the feature</a>
      </div>
      <div class="banner-item">
            <div class="banner-image">
                <a href="#" title="View the feature">
                <img title="blog3.jpg" src="/product_images/uploaded_images/blog3.jpg" alt="blog3.jpg" />
                </a>
            </div>
        <h4 class="banner-title">Get yourself in peak</h4>
    <p class="banner-desc">Your summer workouts start now</p>
    <a href="#" class="button" title="Shop summer 2018">Shop summer 2018</a>
      </div>
    </div>
  </div>
</div>
Or use button below to generate HTML code with your custom content:
Instagram Photos Feed
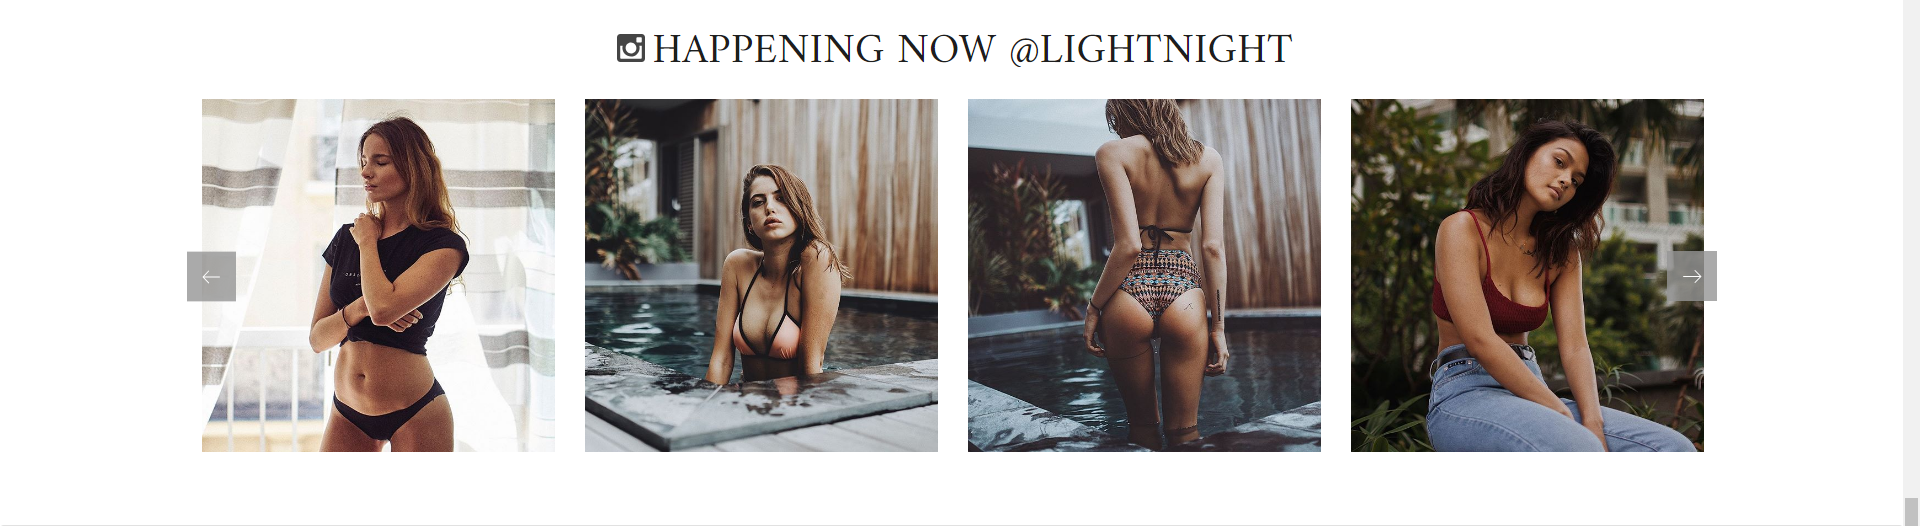
Configure Instagram section on the home page in Theme Editor > Home Page > Instagram:
- Token Access: Use this tool to generate your Instagram token access code: https://bit.ly/2rpaWxU.
- Number of photos to display.
- Columns (or photos per row).
- Type:
Boxed- display like Furniture demo.Fullwidth- display like Fashion demo. - Heading.
- Subheading.
Sidebar - New Products, Banners & Facebook
Custom banners on the sidebar
Theme support custom banners display on the sidebar for category pages and brand pages.
To enable these banners, open Theme Editor > Sidebar, tick on these options:
- Show banner #1 on category pages
- Show banner #2 on category pages
- Show banner #1 on brand pages
- Show banner #2 on brand pages
Create a new banner in Marketing > Banners:
Banner 1 on category pages
- Banner Name:
Sidebar banner on category pages (lightnight-sidebar-category-banner1) - Banner Content: Click on the HTML to edit HTML source.
<p data-remote-banner-position="lightnight-sidebar-category-banner1"><a href="#"><img class="__mce_add_custom__" title="banner3.gif" src="https://cdn11.bigcommerce.com/s-xz87wpfnzs/product_images/uploaded_images/banner3.gif" alt="banner3.gif" width="250" height="450" /></a></p>
Or use button below to generate HTML code with your custom content:
- Show on Page:
Home Page - Location:
Top of Page
Banner 2 on category pages
- Banner Name:
Sidebar banner on category pages (lightnight-sidebar-category-banner2) - Banner Content: Click on the HTML to edit HTML source.
<p data-remote-banner-position="lightnight-sidebar-category-banner2"><a href="#"><img class="__mce_add_custom__" title="banner3.gif" src="https://cdn11.bigcommerce.com/s-xz87wpfnzs/product_images/uploaded_images/banner3.gif" alt="banner3.gif" width="250" height="450" /></a></p>
Or use button below to generate HTML code with your custom content:
- Show on Page:
Home Page - Location:
Top of Page
Banner 1 on brand pages
- Banner Name:
Sidebar banner on brand pages (lightnight-sidebar-brand-banner1) - Banner Content: Click on the HTML to edit HTML source.
<p data-remote-banner-position="lightnight-sidebar-brand-banner1"><a href="#"><img class="__mce_add_custom__" title="banner3.gif" src="https://cdn11.bigcommerce.com/s-xz87wpfnzs/product_images/uploaded_images/banner3.gif" alt="banner3.gif" width="250" height="450" /></a></p>
Or use button below to generate HTML code with your custom content:
- Show on Page:
Home Page - Location:
Top of Page
Banner 2 on brand pages
- Banner Name:
Sidebar banner on brand pages (lightnight-sidebar-brand-banner2) - Banner Content: Click on the HTML to edit HTML source.
<p data-remote-banner-position="lightnight-sidebar-brand-banner2"><a href="#"><img class="__mce_add_custom__" title="banner3.gif" src="https://cdn11.bigcommerce.com/s-xz87wpfnzs/product_images/uploaded_images/banner3.gif" alt="banner3.gif" width="250" height="450" /></a></p>
Or use button below to generate HTML code with your custom content:
- Show on Page:
Home Page - Location:
Top of Page
New Products
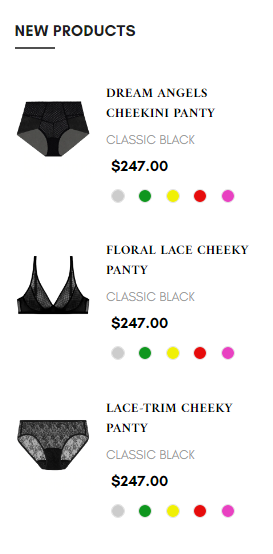
Configure in Theme Editor > Sidebar:
- New products: number of products to display.
Facebook likes & chat box
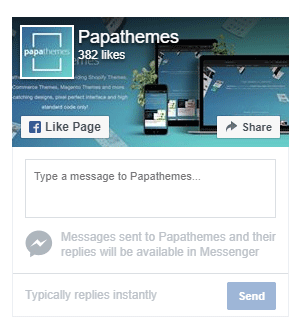
Configure in Theme Editor > Sidebar, input your facebook page name in Facebook page text box. If your facebook page URL is https://facebook.com/papathemes, input only papathemes. Make sure your Facebook page is public for anyone in order to display on your store.
Product Page Settings
Configure settings for product pages in Theme Editor > Products.
Infinite product loading
Theme support infinite product loading or infinite scroll on category pages, brand pages and search results pages. It is automatically enabled by default. You can configure this option in Theme Editor > Products > Infinite Scroll:
- Category pages
- Brands pages
- Brand pages
- Search pages
Product Card & Color Swatches
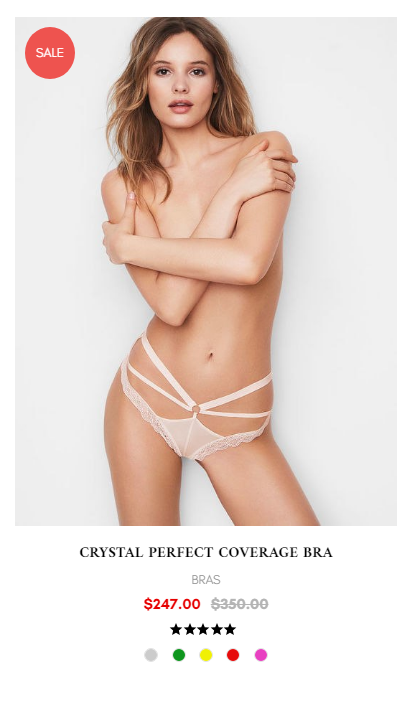
Configure how products display on listing in Theme Editor > Products > Product cards:
- Product title color & hover color.
- Button text color & background color.
- Show brand
- Show color swatches: To display color swatches for product options with type "Swatches".
Bottom bar on mobile

Configure this bottom bar in Theme Editor > Footer > Bottom bar on mobile:
- Background color
- Text color
- Active color
- Icon size
- Font size
- Show Shop by Brands in Store panel: Display "Show by Brands" link in the menu panel when lick on the Store icon.
Contact info
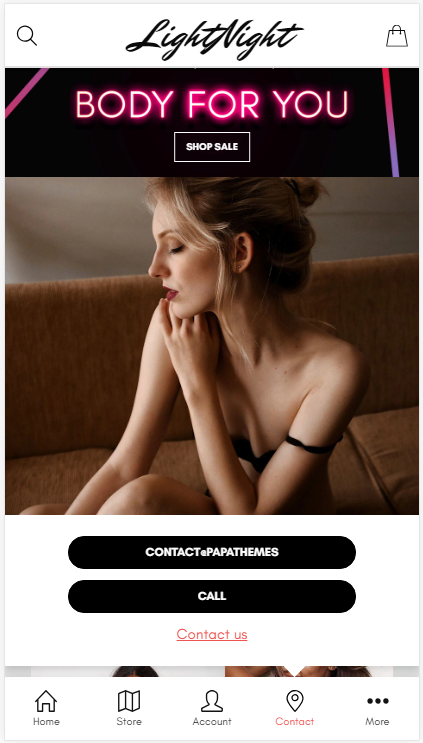
Configure contact info to display when click the Contact icon in Theme Editor > Storewide > Contact info:
- Phone number
- Call text
- Contact page URL
- Contact link text