Customization
This page will explain all configuration available and how to edit each section appear on theme. Let's view the first homepage.
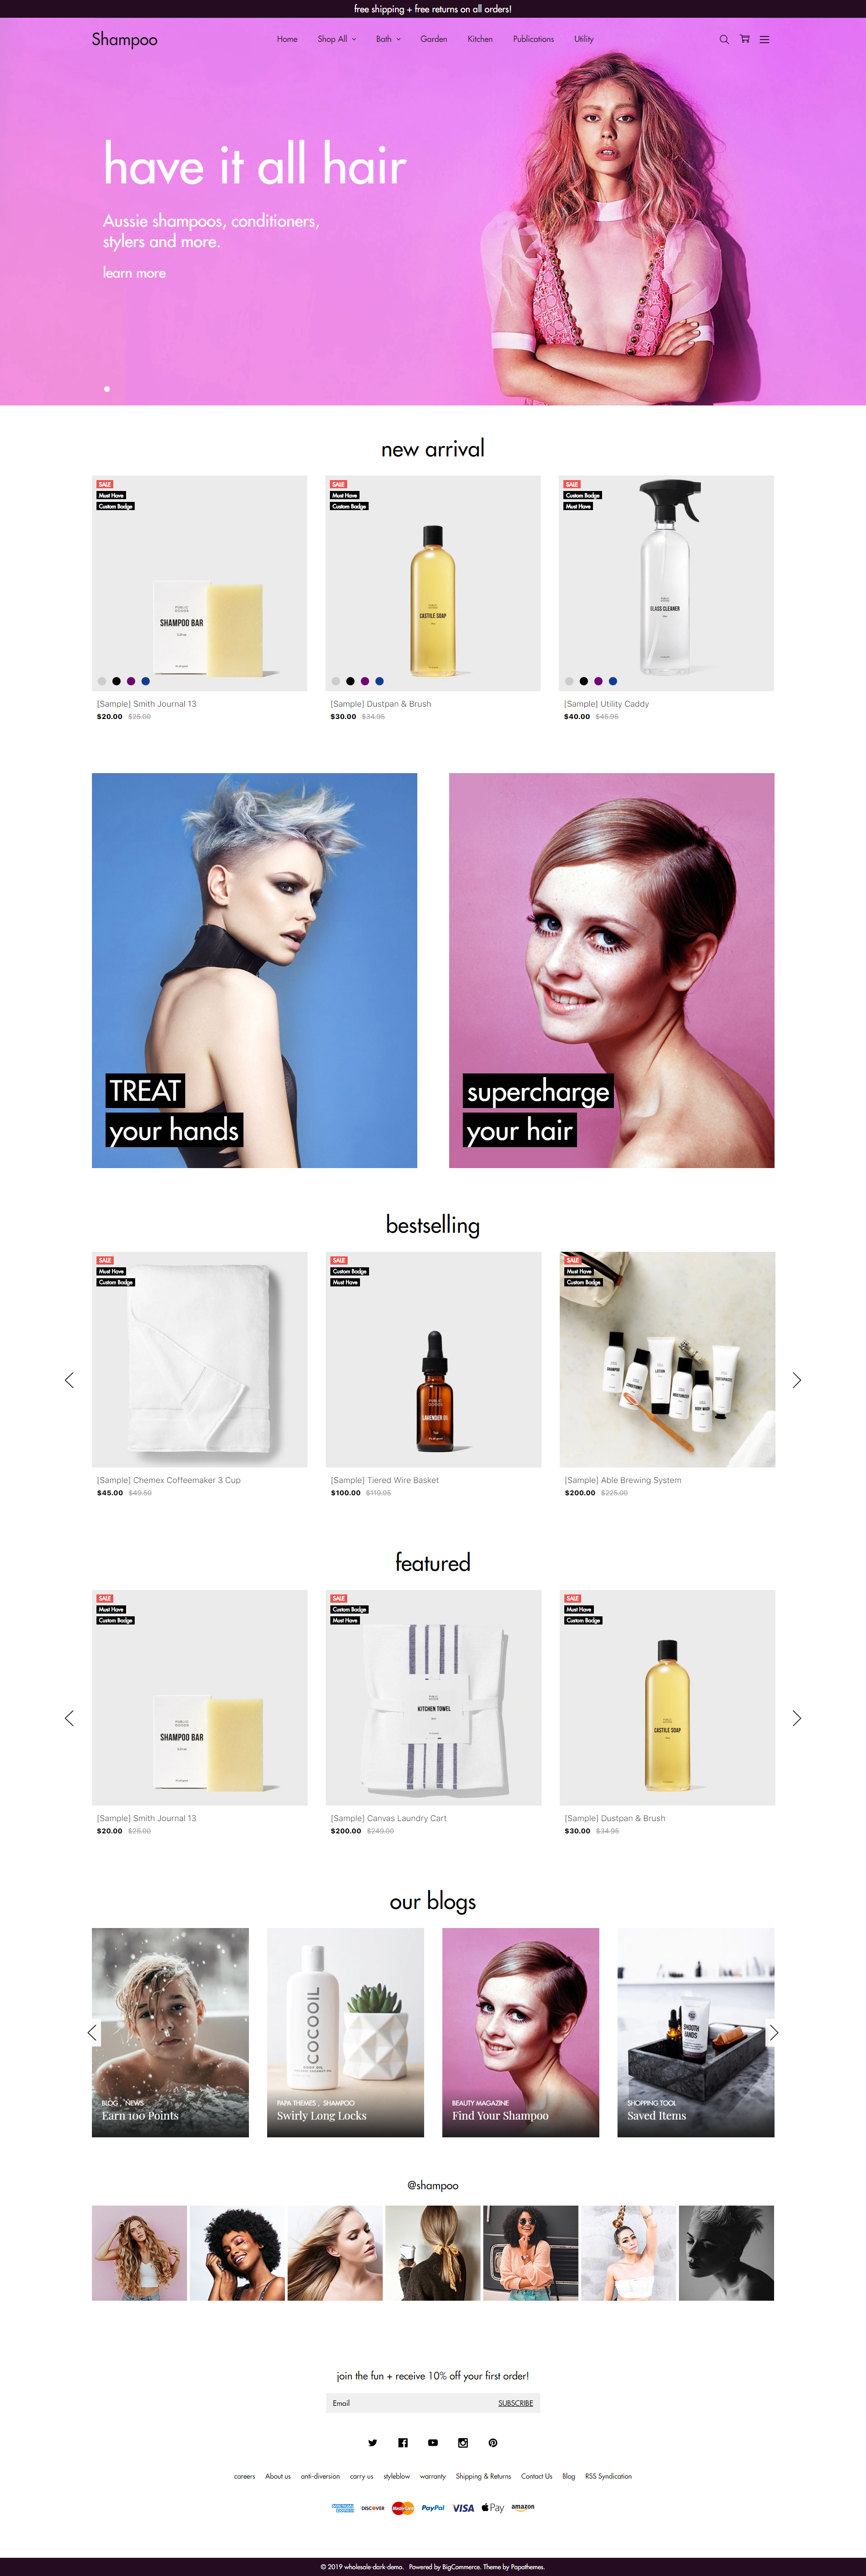
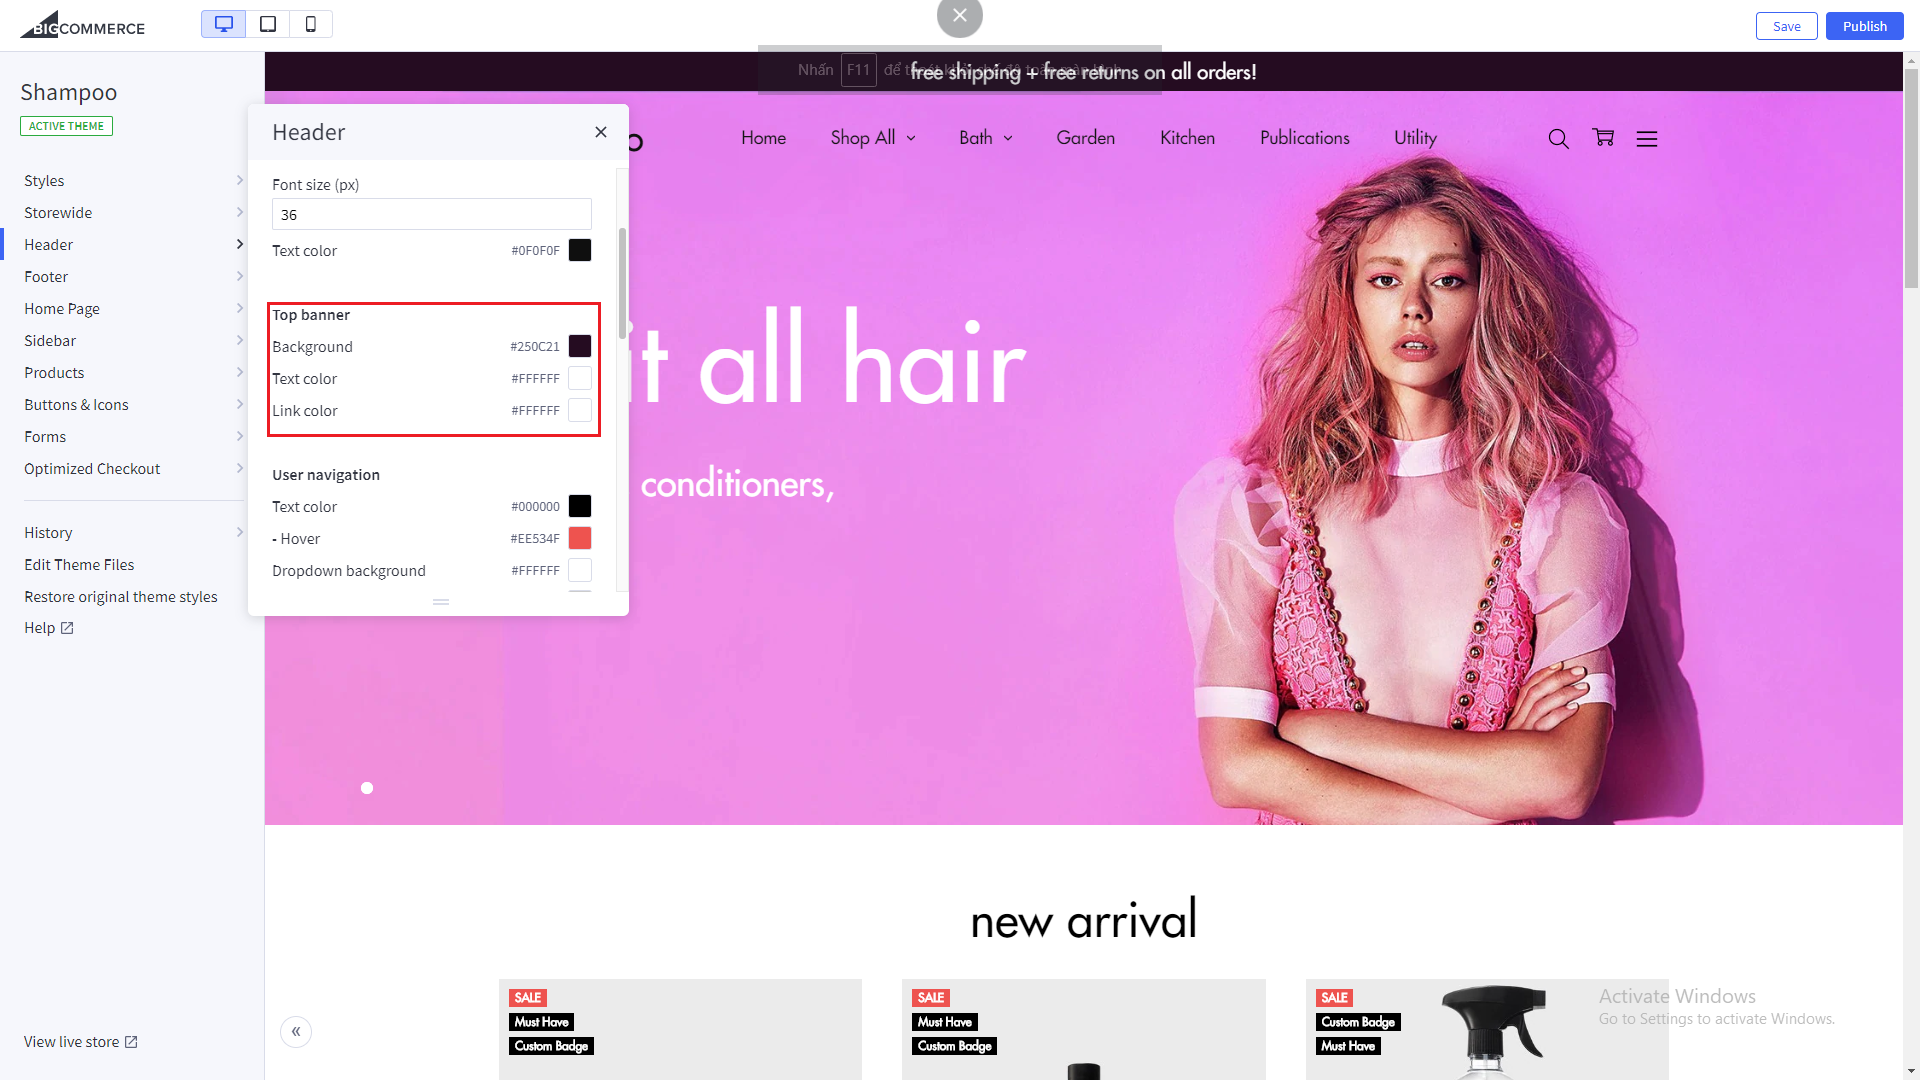
Top Banner

The top banner can be showed / edited in admin page > Marketing > Banners. When you add / edit remember to choose Location is Top of Page.
Colors Customization
To customize colors of this section, go to admin page > Storefront Design > My Themes, click button Customize of the current theme to open the Theme Editor.
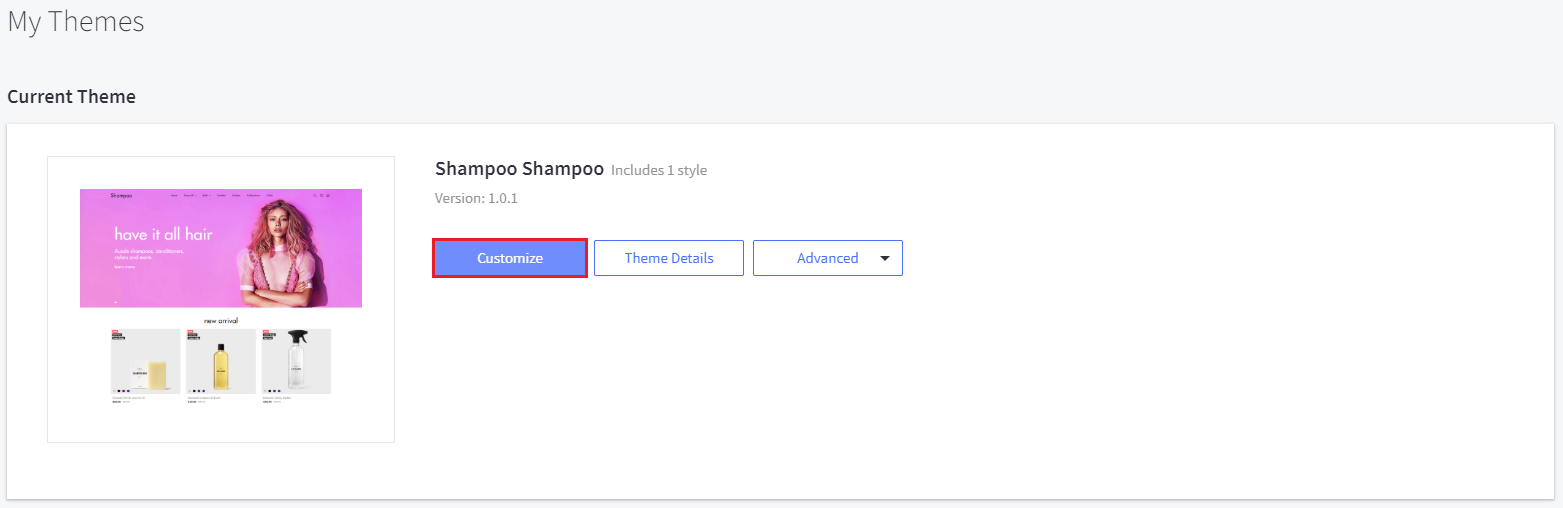
Look into the options showing below:
Header
Header Styles
This theme support 3 different header styles: - Logo at left - Logo at right - Logo at center


To configure, open the Theme Editor, scroll down to section Logo, click to expand the logo options. Choose a certain option of Logo position, then click Refresh button appear after.
![]()
User navigation Customization
To customize User navigation of the header section, look into the options showing below in the Theme Editor:
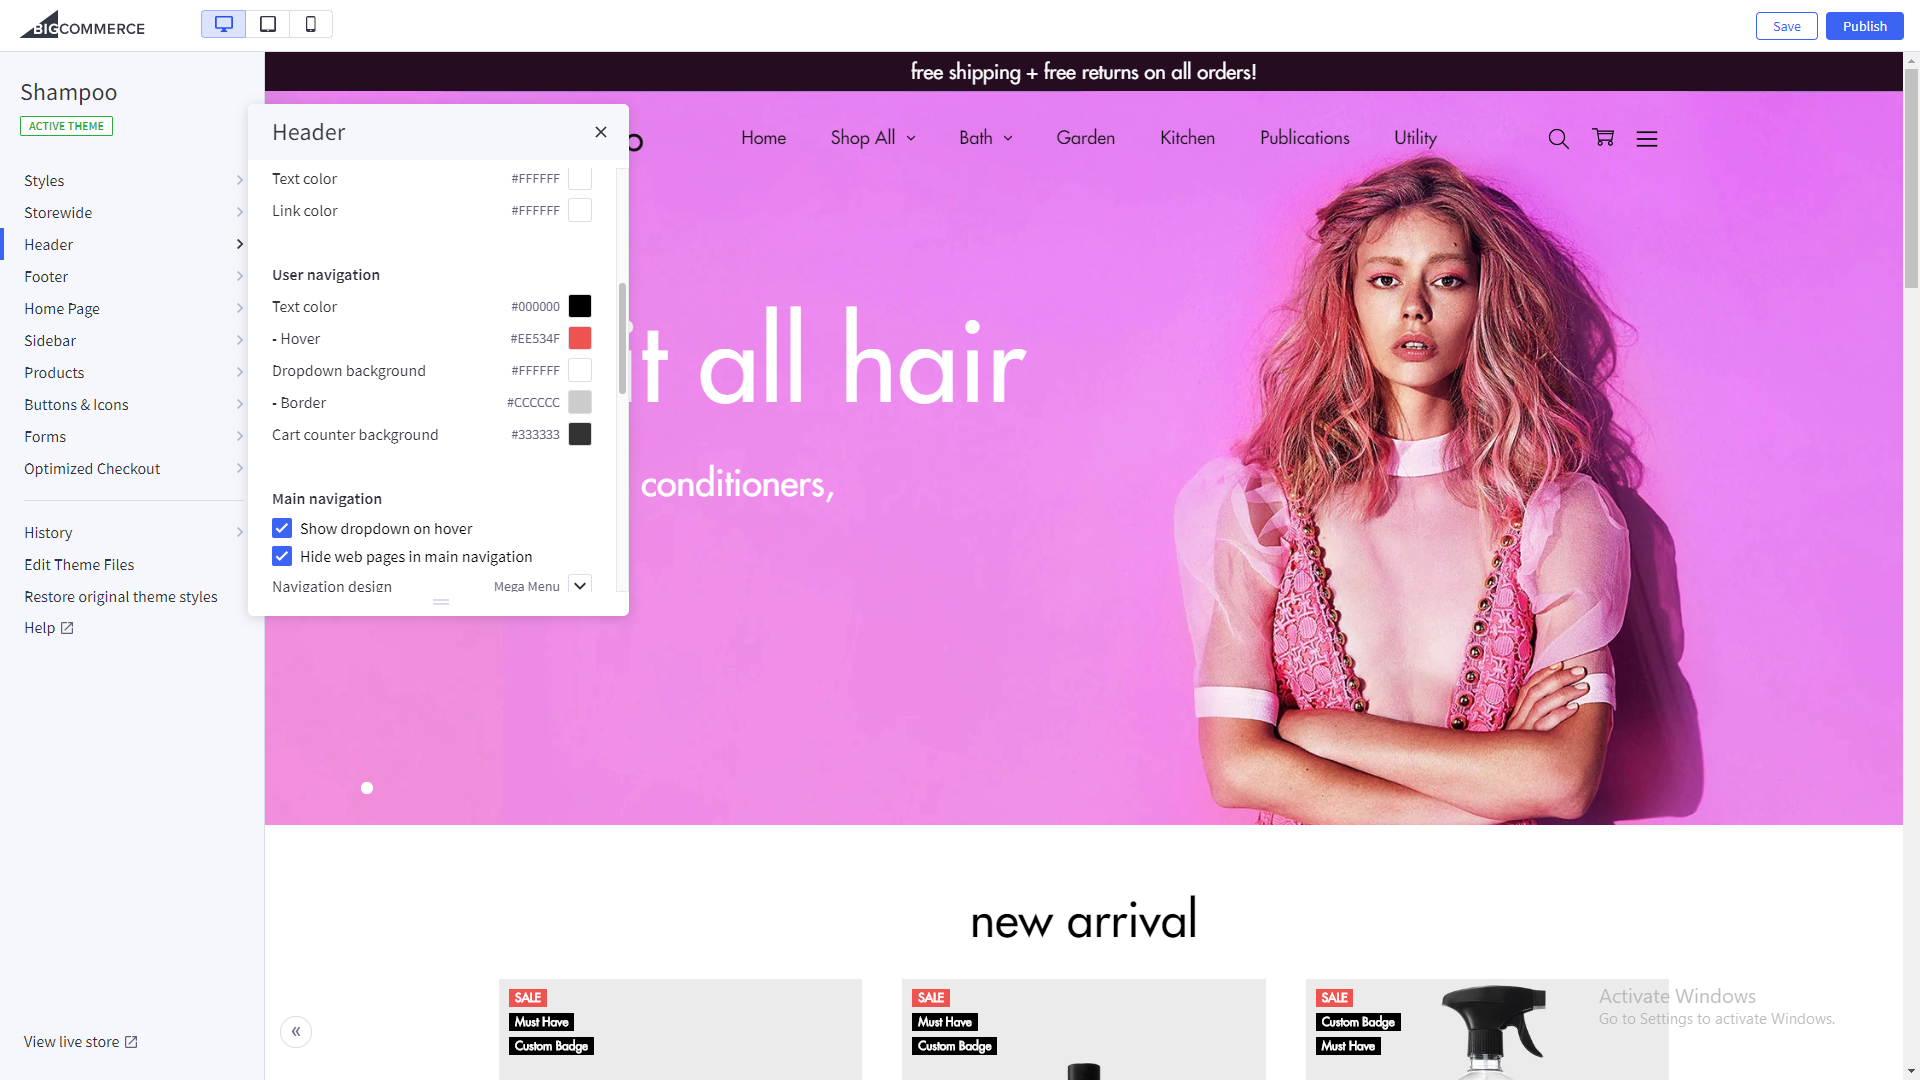
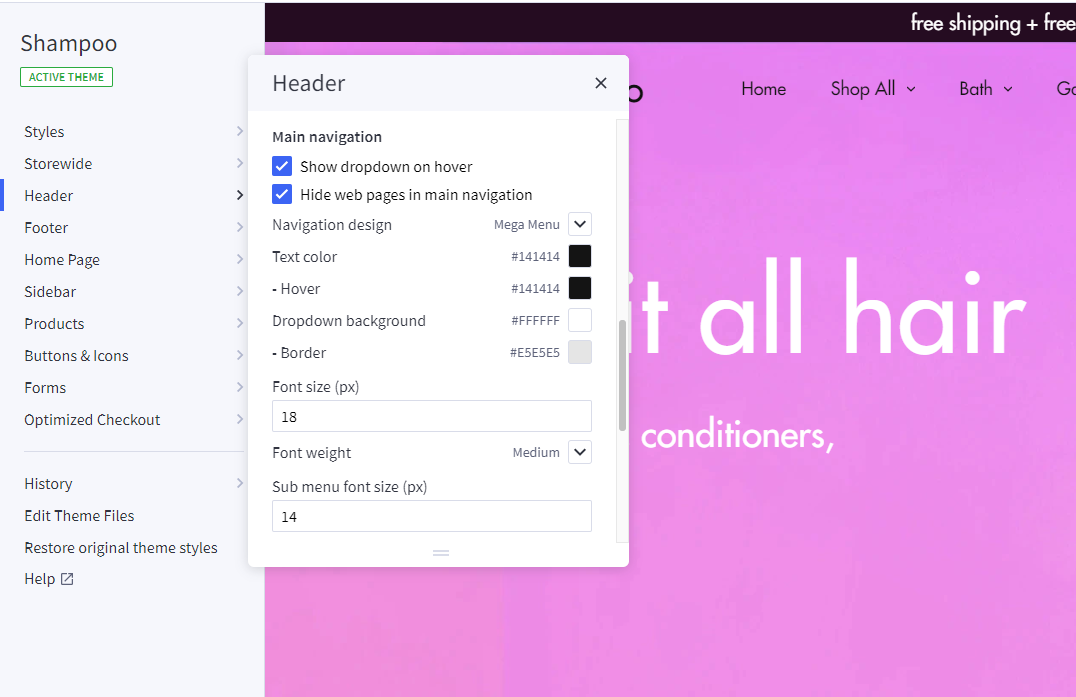
Main navigation Customization
To customize Main navigation of the header section, look into the options showing below in the Theme Editor:
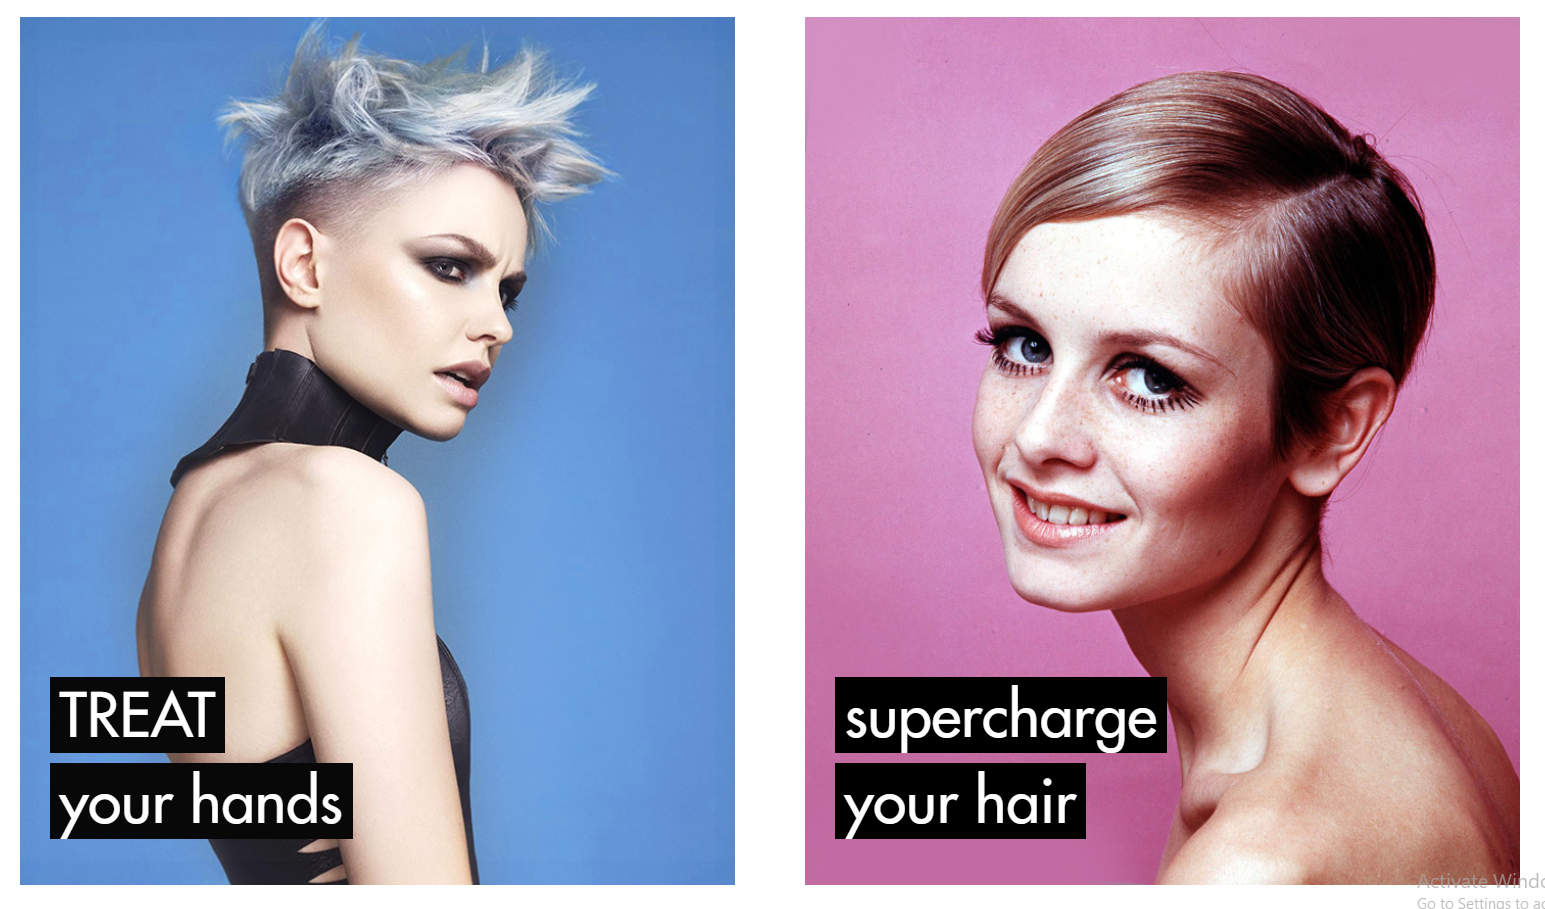
Main Slideshow / Carousel
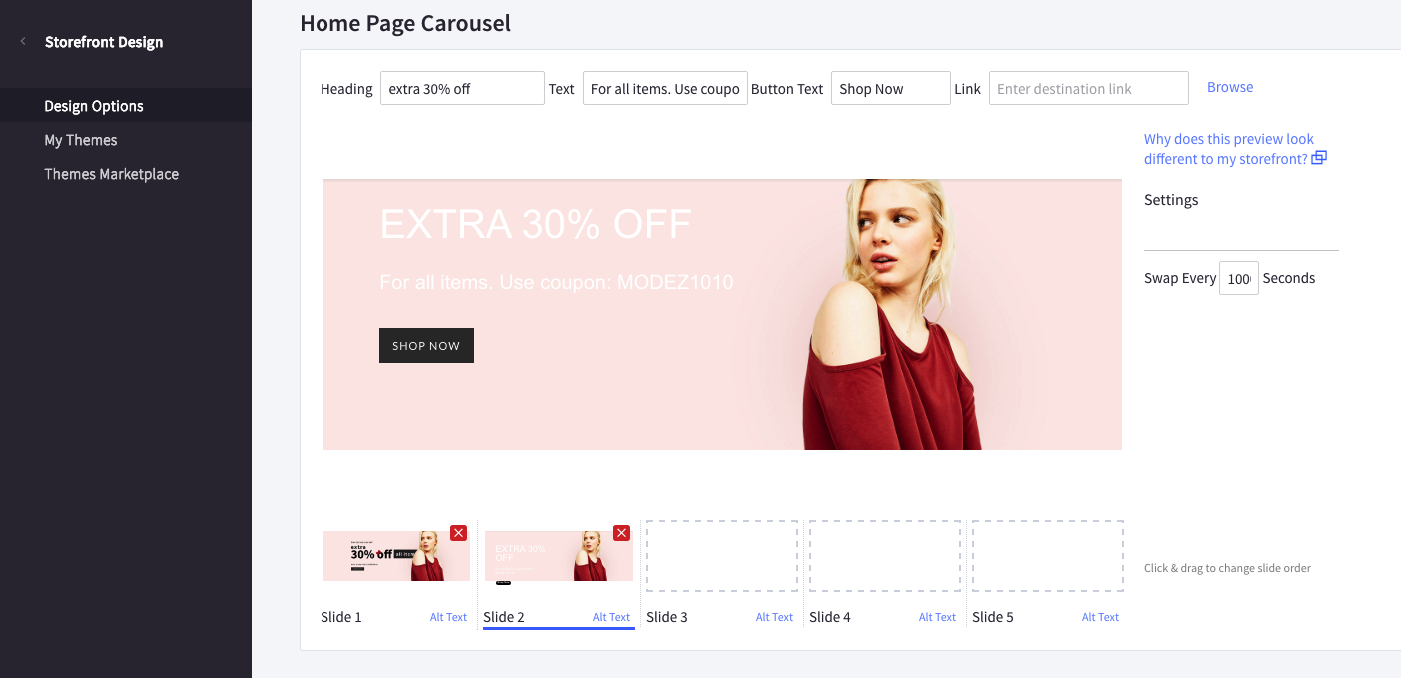
Edit the slideshow
Edit the slideshow in admin page > Storefront Design > Design Options:
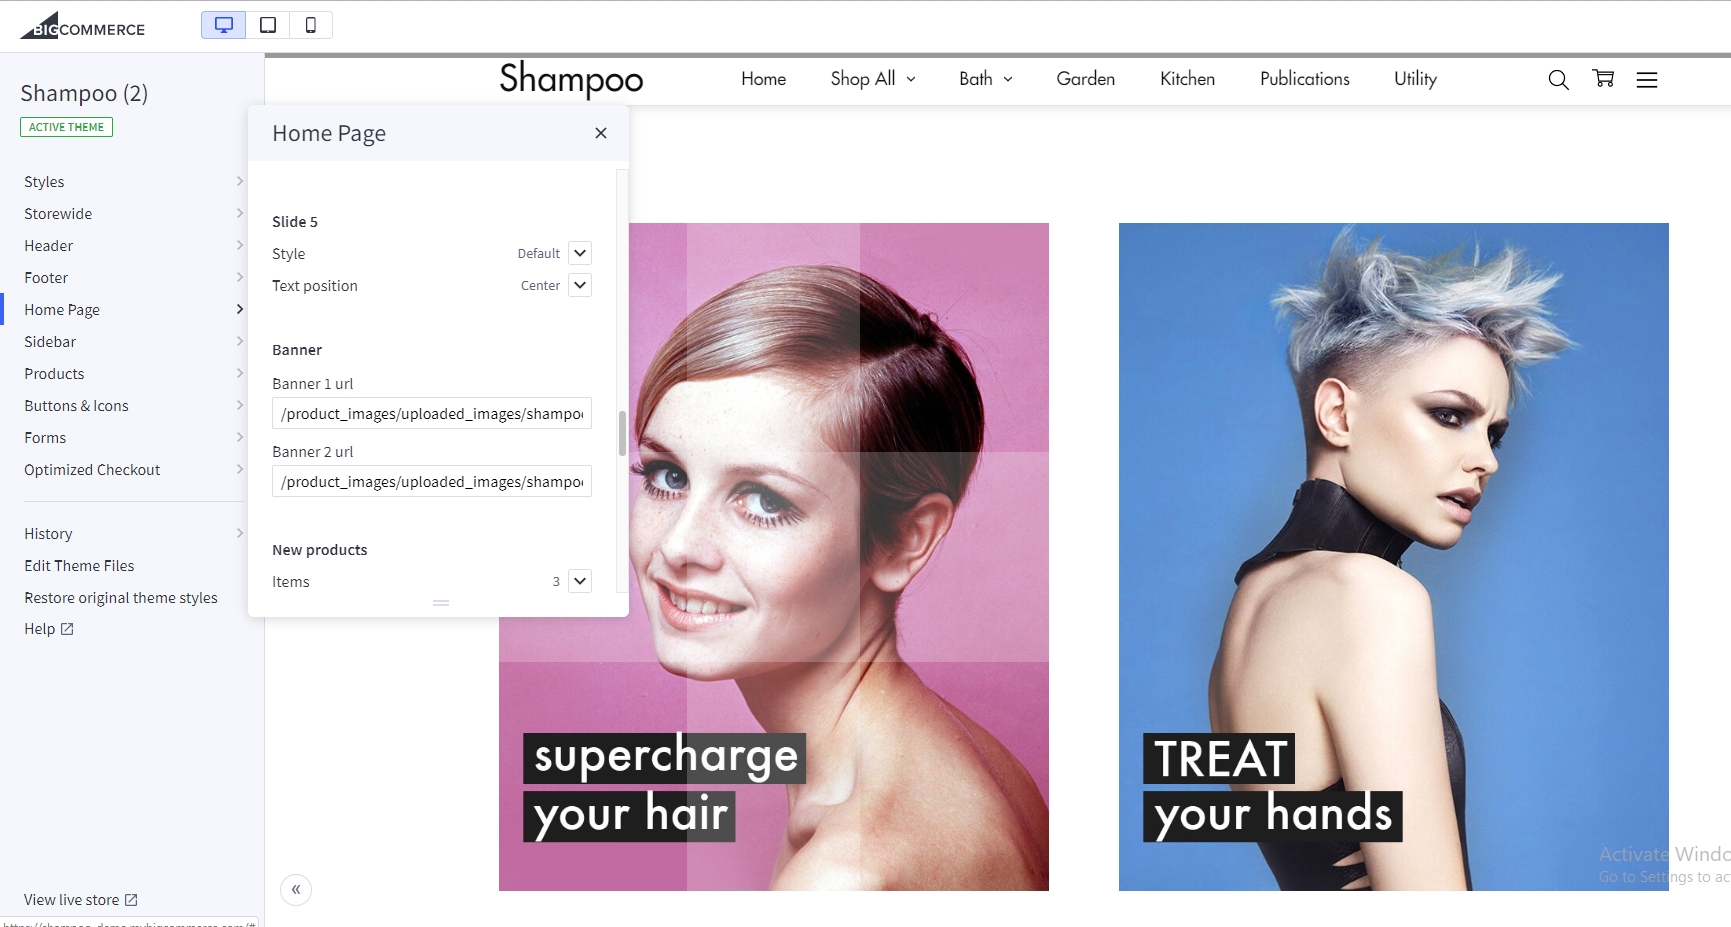
Change position of text content
The theme supports showing slideshow content like heading, text, button on left, right or center of the image. To configure this option, open Theme Editor, Look into section Carousel, click to expand:
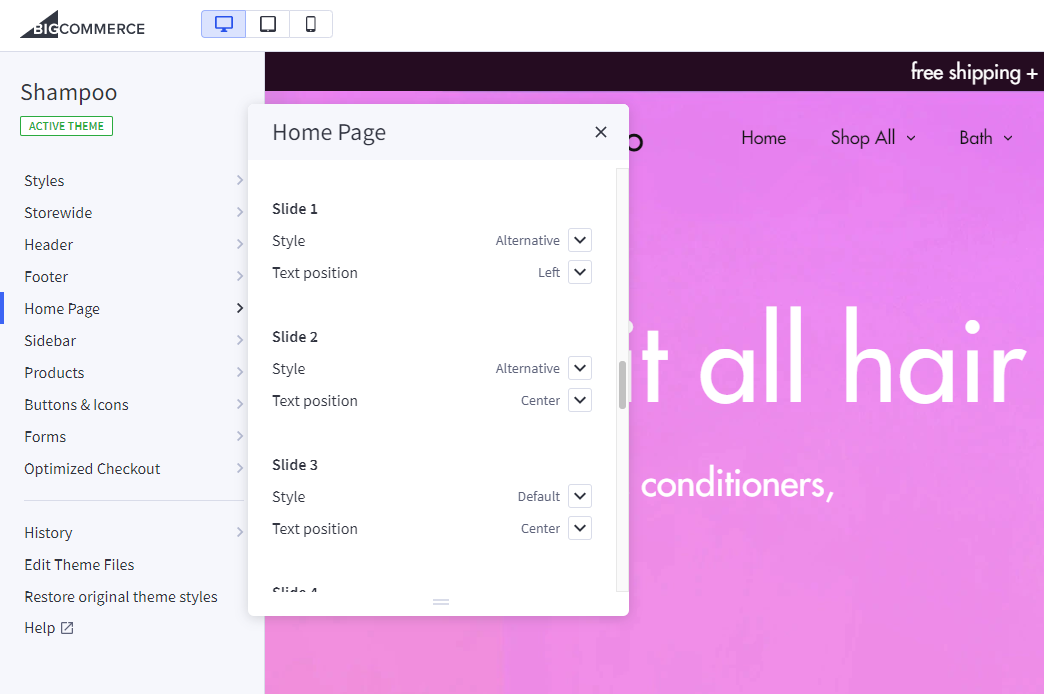
Choose position of each slide you want to change.
Colors Customization
To customize color of the slideshow's elements, look into section Carousel in the Theme Editor:
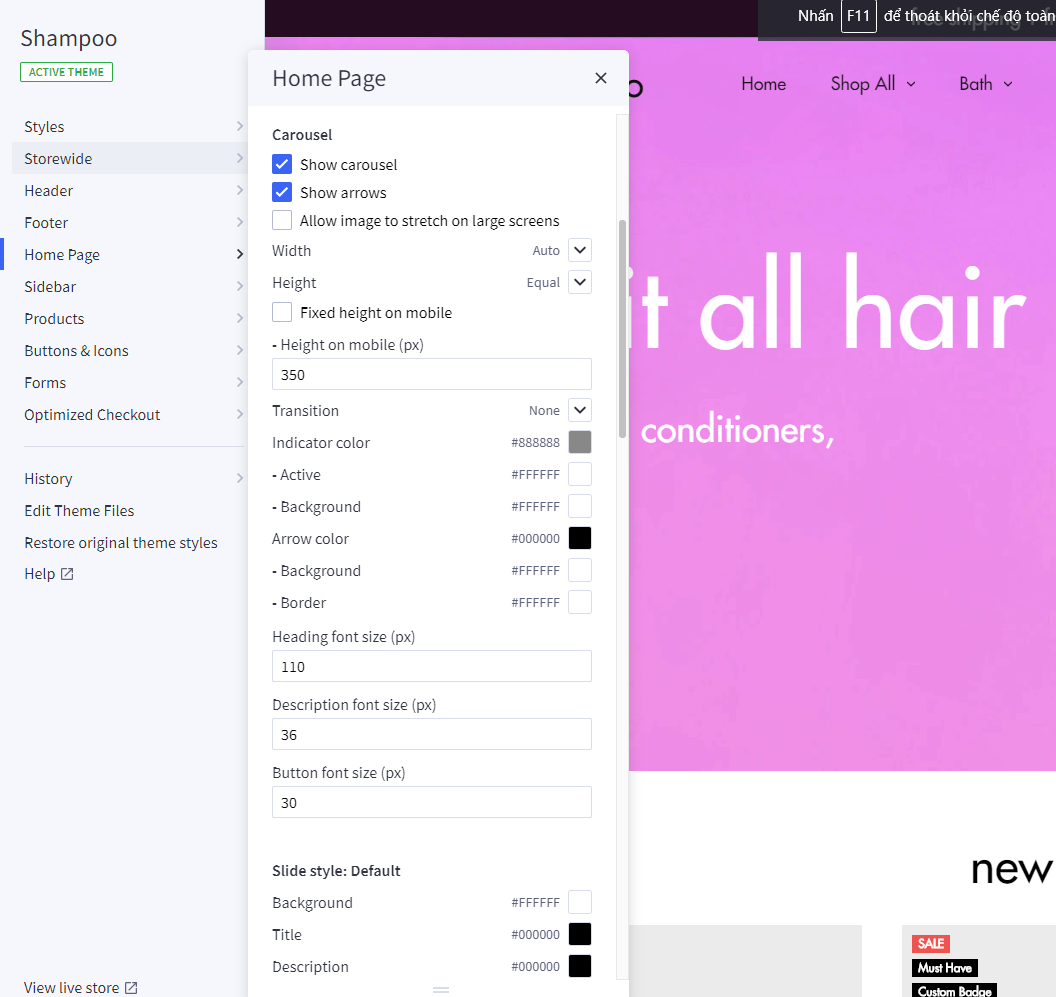
Hide the slideshow
To hide the slideshow on homepage, uncheck on the checkbox Show Carousel in section Carousel of the Theme Editor.
Two Banner
 To change the image url. Edit its values as you want.
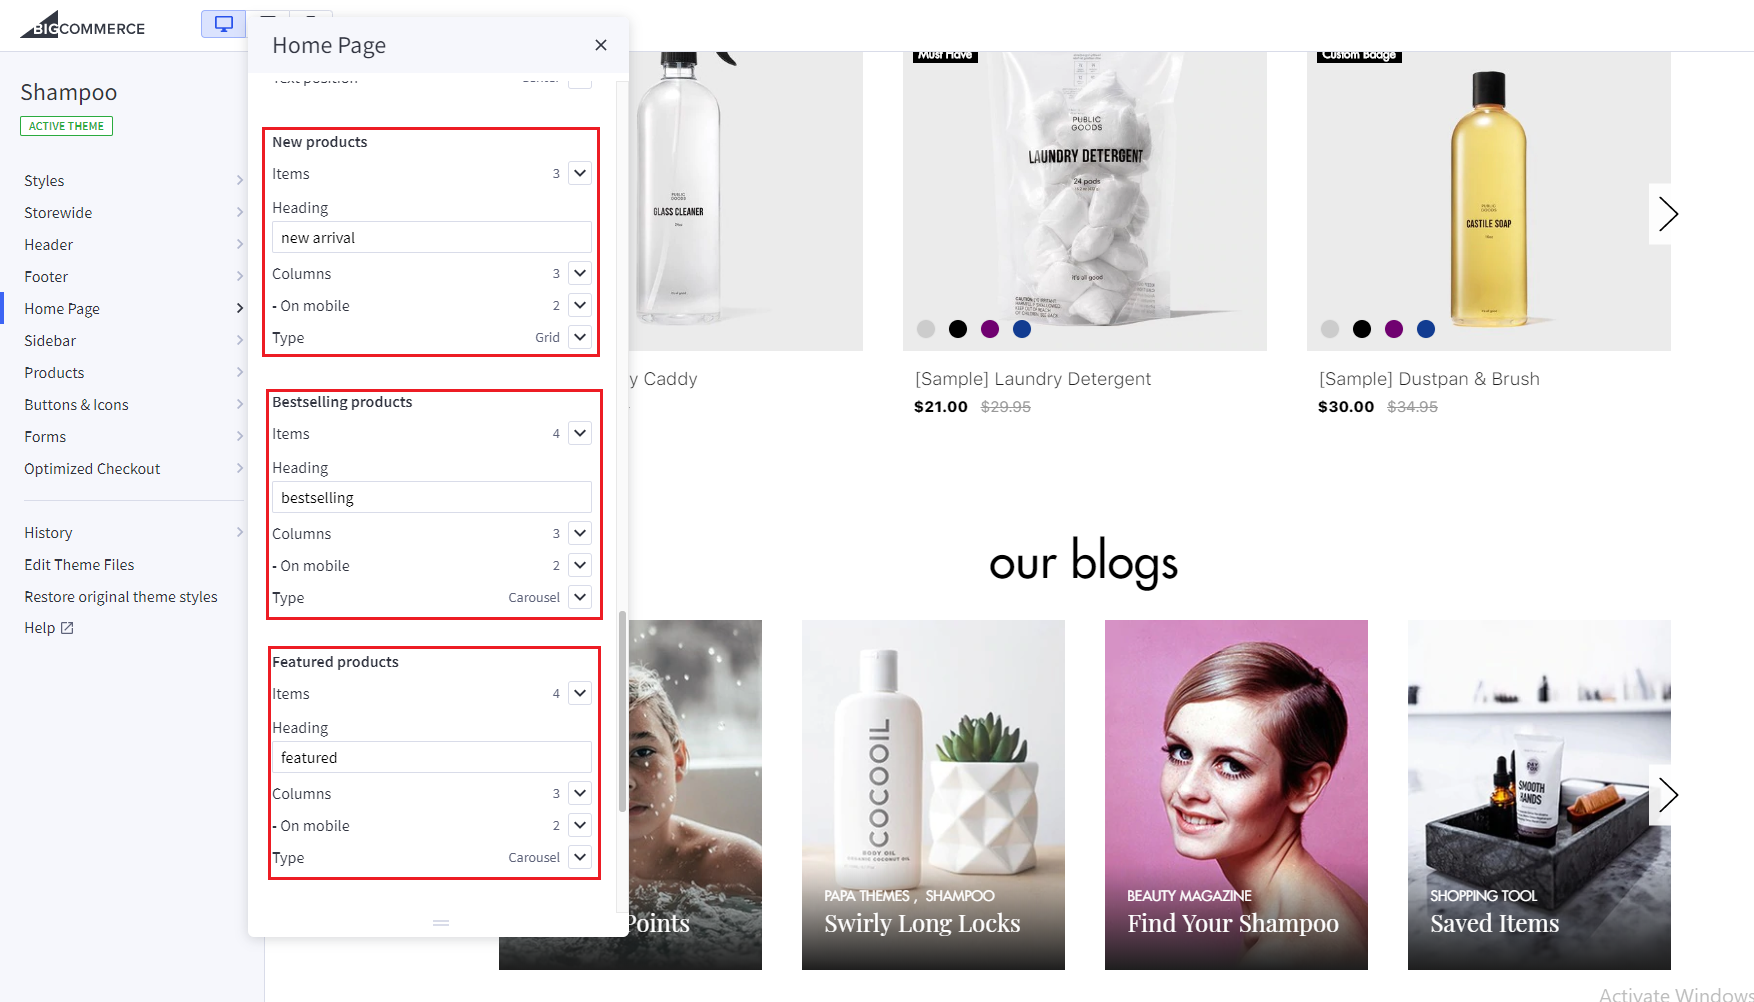
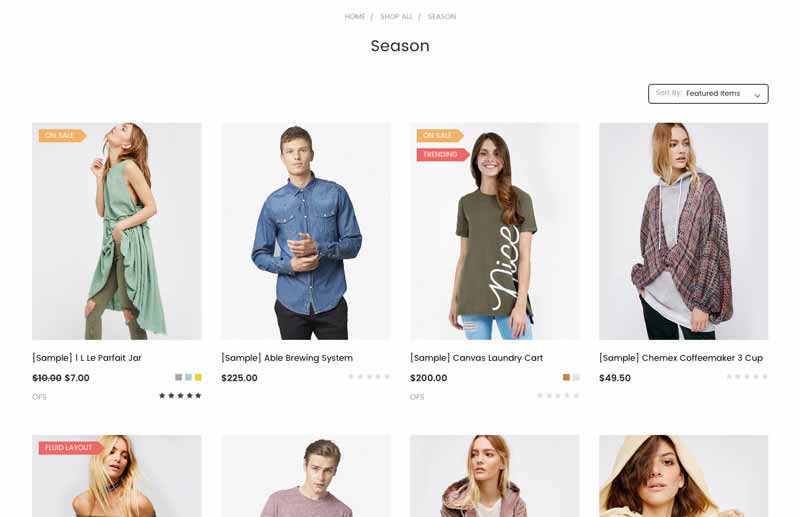
Products section
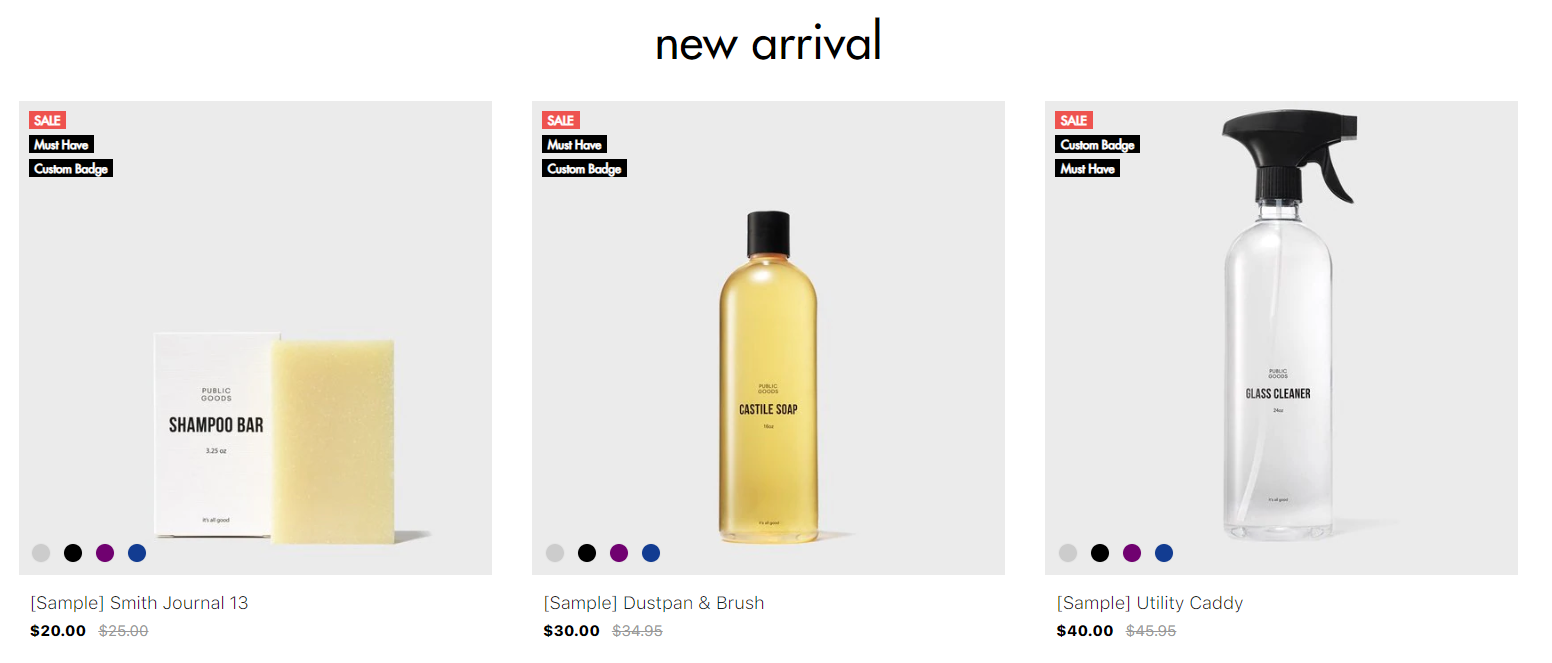
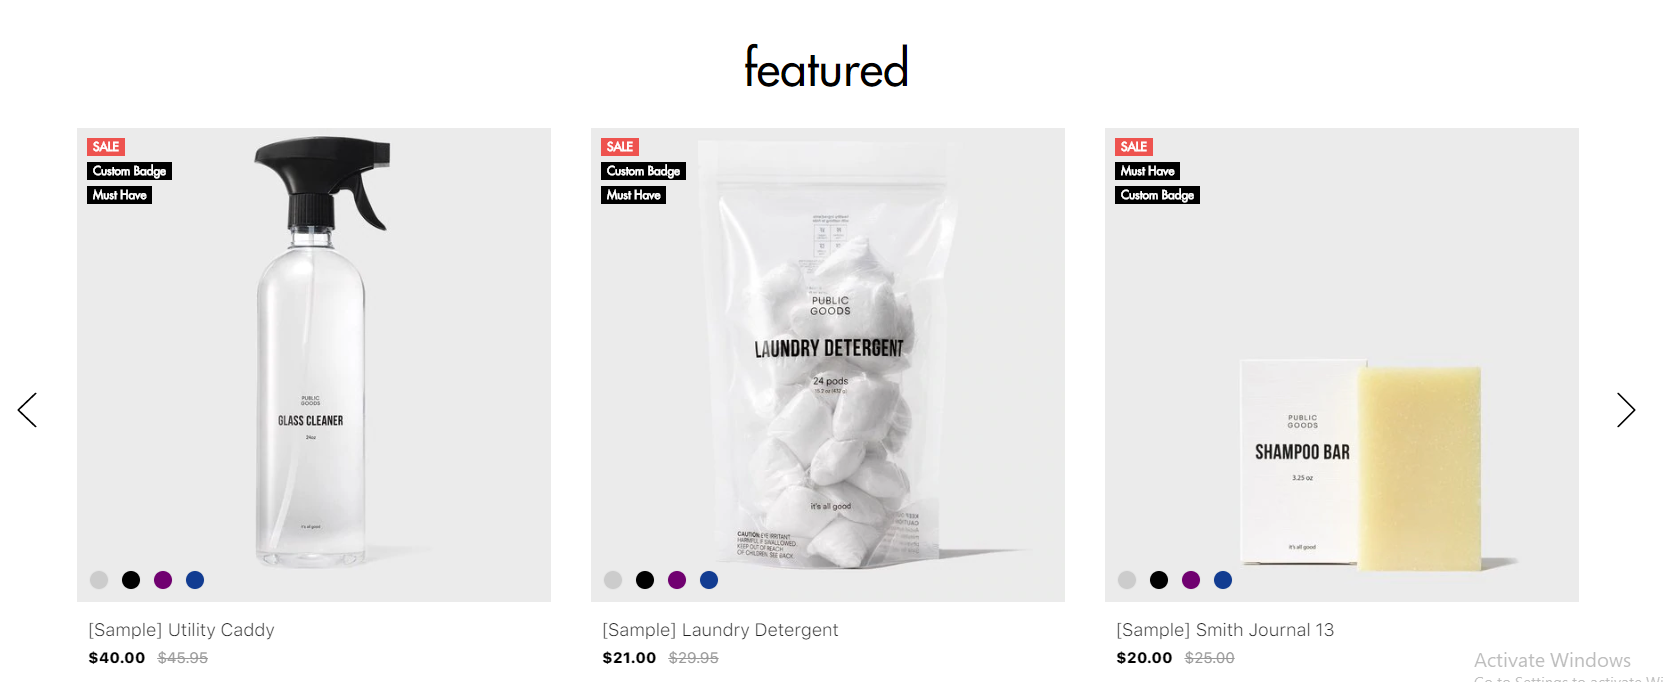
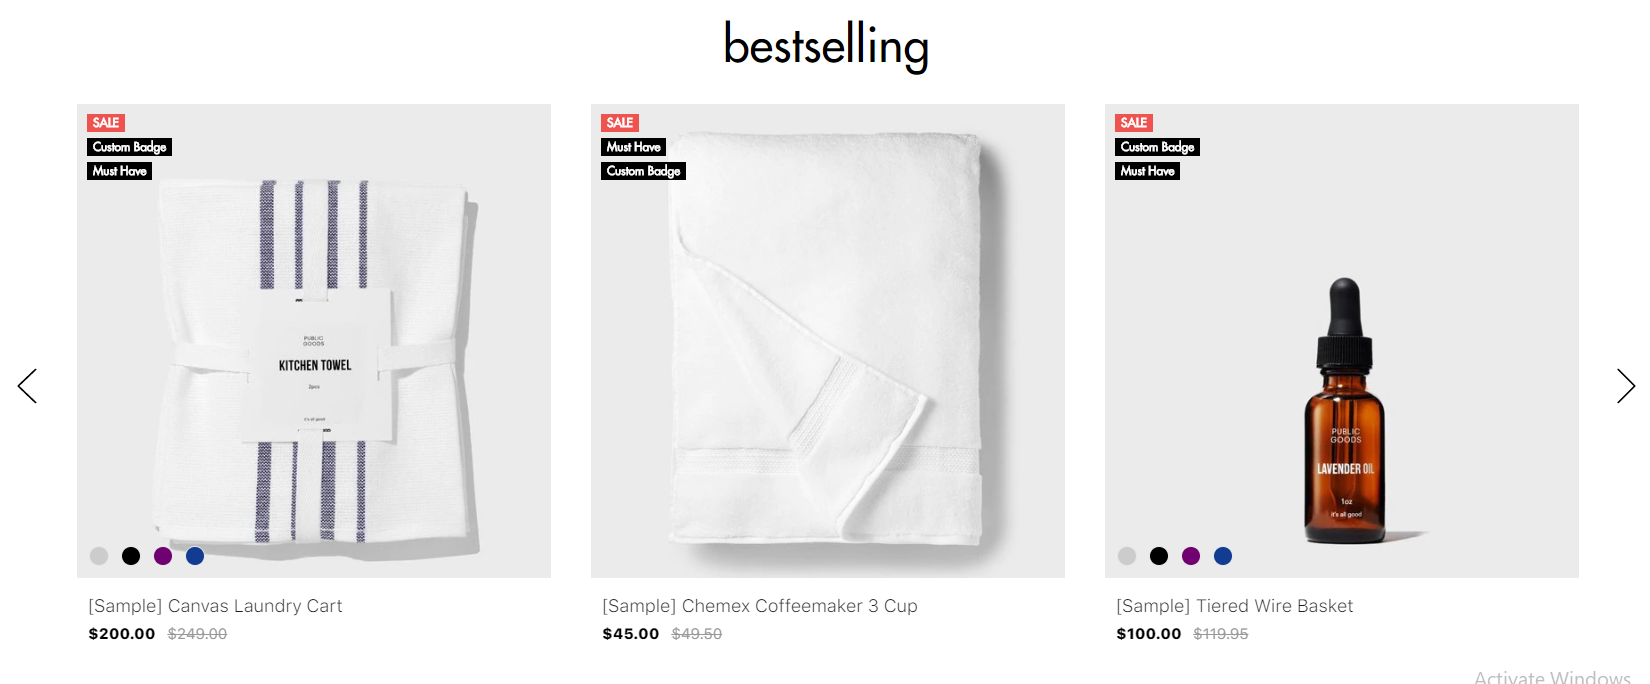 To change the heading text, Columns number to show, Type, edit in The products section. Edit its values as you want.
Recent Blog Posts

This block show the most recent blog posts.
Customize heading text and other text
To change the heading text, read more text and date format, edit in The Blog section. Edit its values as you want.
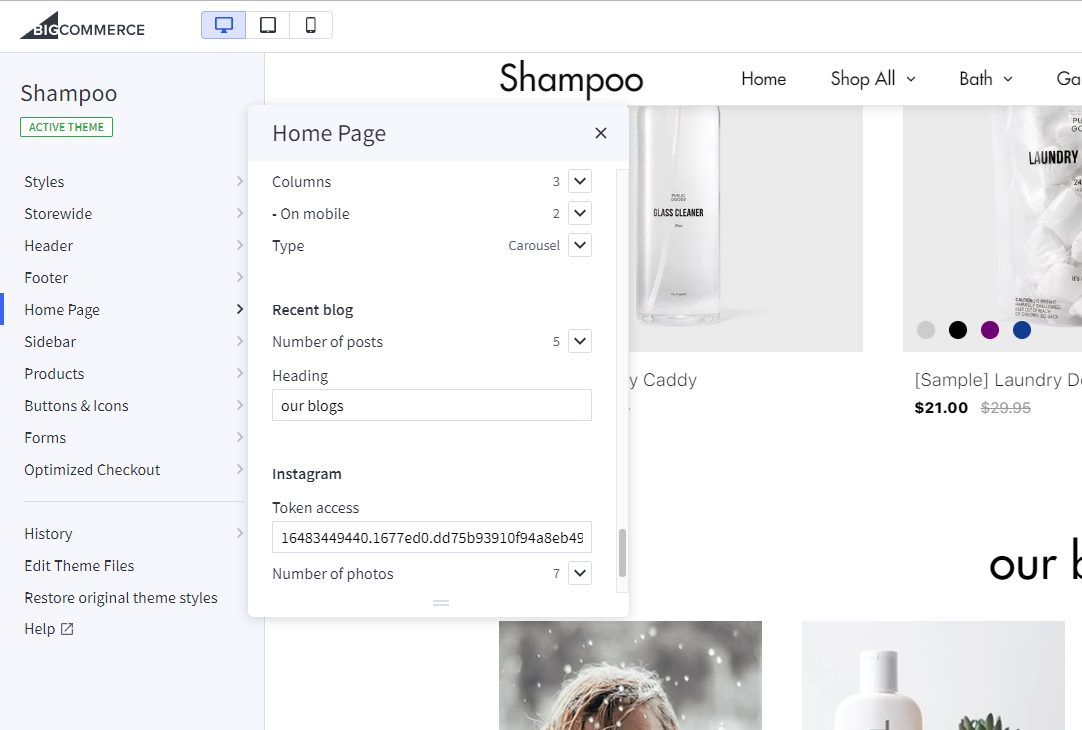
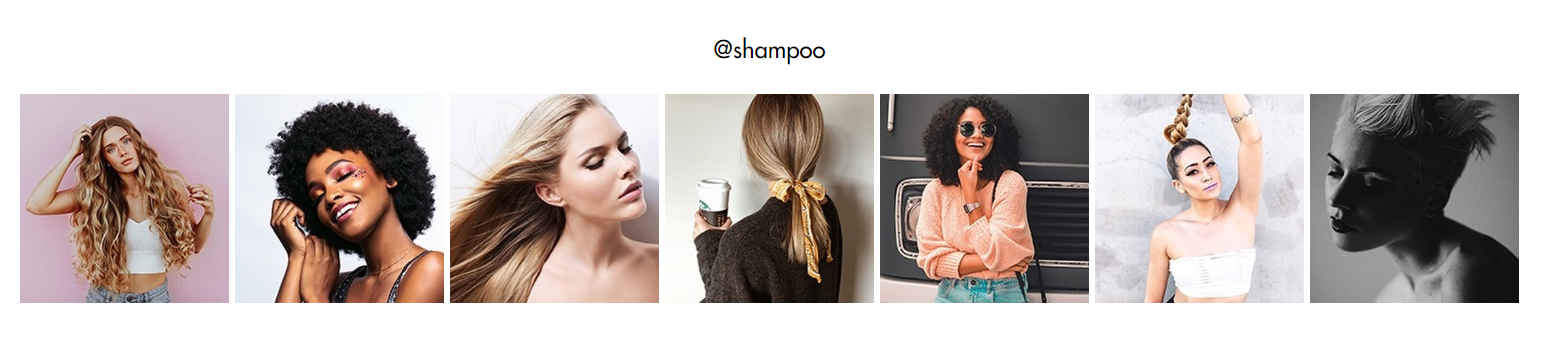
Instagram Photos
Get your own User ID, Client ID, Access Token
In order to display your Instagram photos on your website, you will need to get the User ID, Client ID and Access Token from Instagram Developer portal.
1. Create your own Client ID
Open the URL https://www.instagram.com/developer/ in your browser.
Login to your Instagram account.
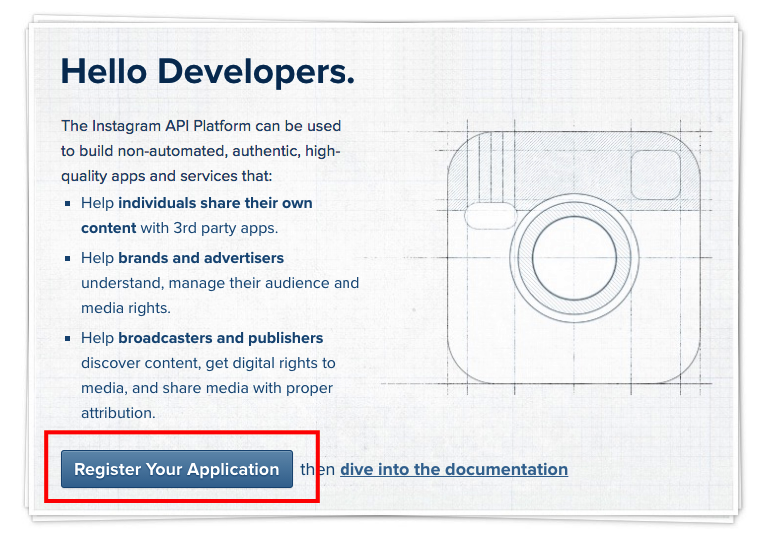
Click button Register Your Application:
Click button Register a New Client:

Enter all required info on the form.
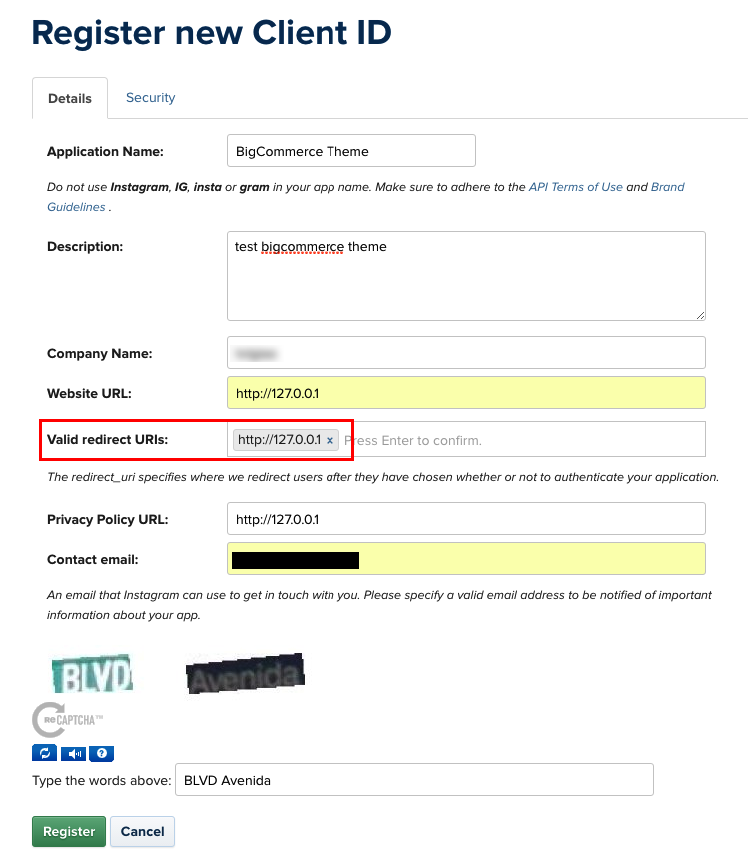
Note that Valid redirect URIs should be exactly http://127.0.0.1 as recommended as it will be used in the next step.
After submitting the form you will get back to the previous page with a new Client ID is created.
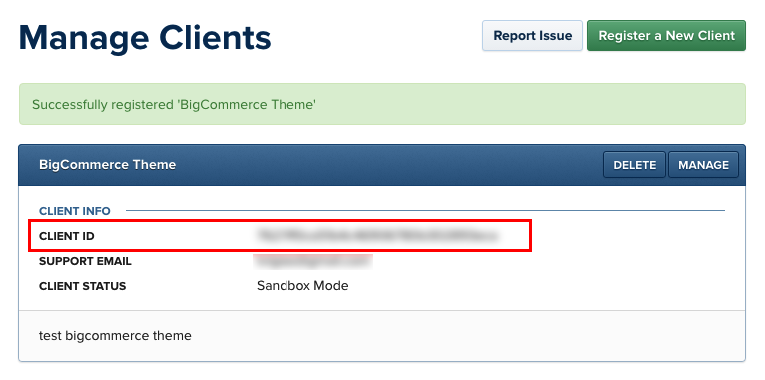
Save this Client ID value, it will be used to configure the Instagram Photos block.
2. Retrieve your Access Token
Click button Manage on your the client app created previously. Open Security tab, uncheck Disable Implicit OAuth checkbox:
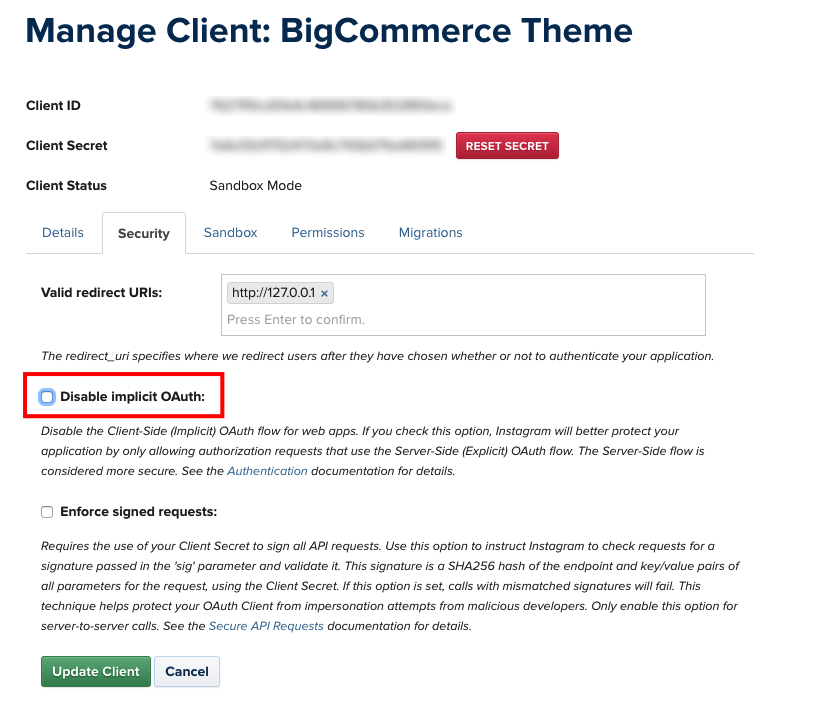
Click Update Client button to complete.
Now open your web browser with the URL:
https://api.instagram.com/oauth/authorize/?client_id=CLIENT-ID&redirect_uri=http://127.0.0.1&response_type=token
where CLIENT-ID is replaced by your Client ID number created previously.
Click Authorize button to grant access permission:
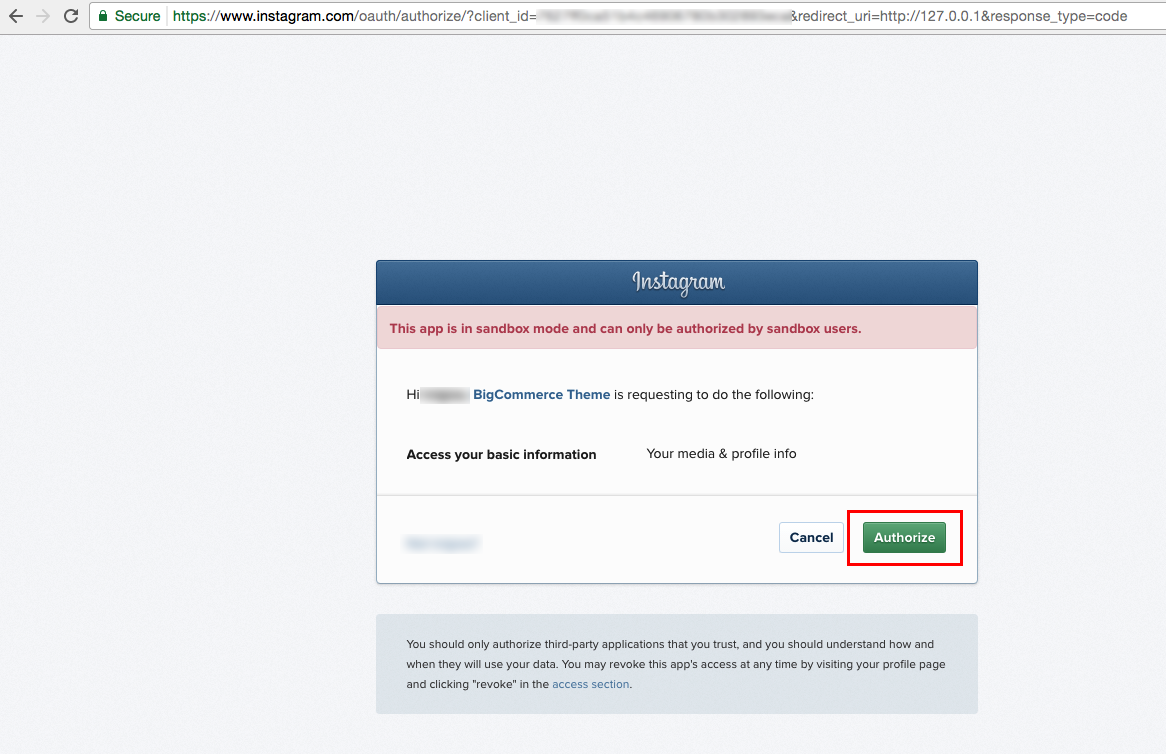
Instagram will redirect you to an error page with the URL similiar:

The text after access_token= is the Access Token you want to get. Save it for the next step.
3. Retrieve your User ID
Open the link below on your web browser:
https://api.instagram.com/v1/users/self/?access_token=ACCESS-TOKEN
Where ACCESS-TOKEN is replaced by your real Access Token just received previously.

The number in "id": "..." is your User ID.
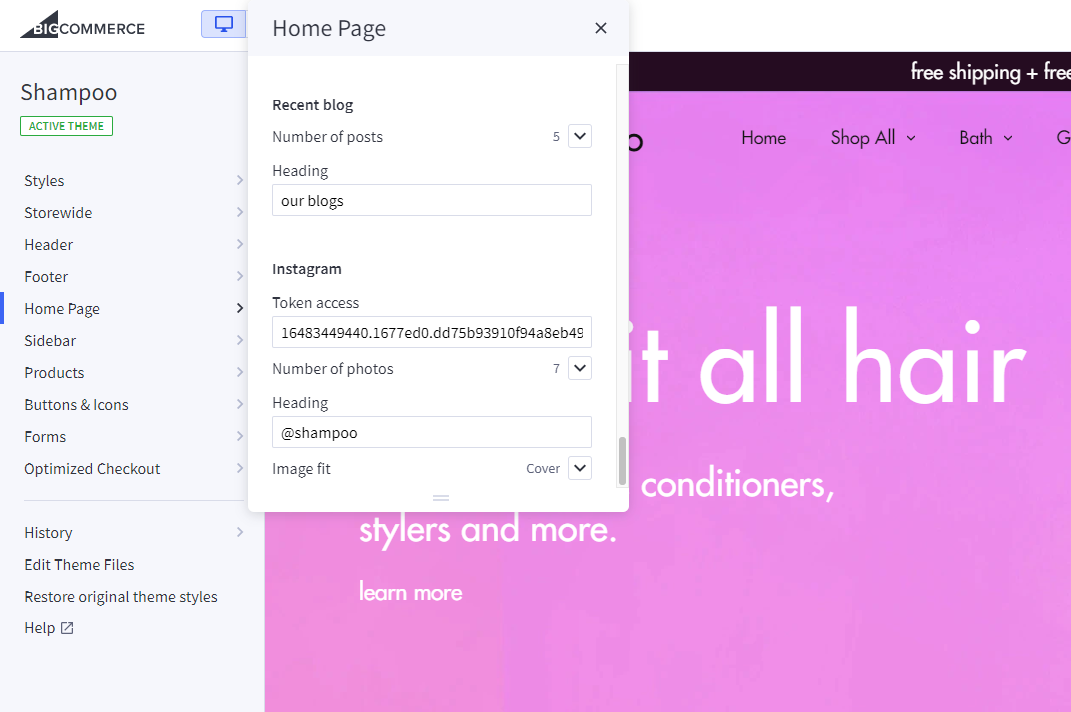
Display your Instagram photos
To display our own Instagram photos, in the Instagram section. input your real code:
access_token: is your Instagram Access Token.
Footer - Newsletter
Change text
To change text appear on this section you can edit the language file as instruction below:
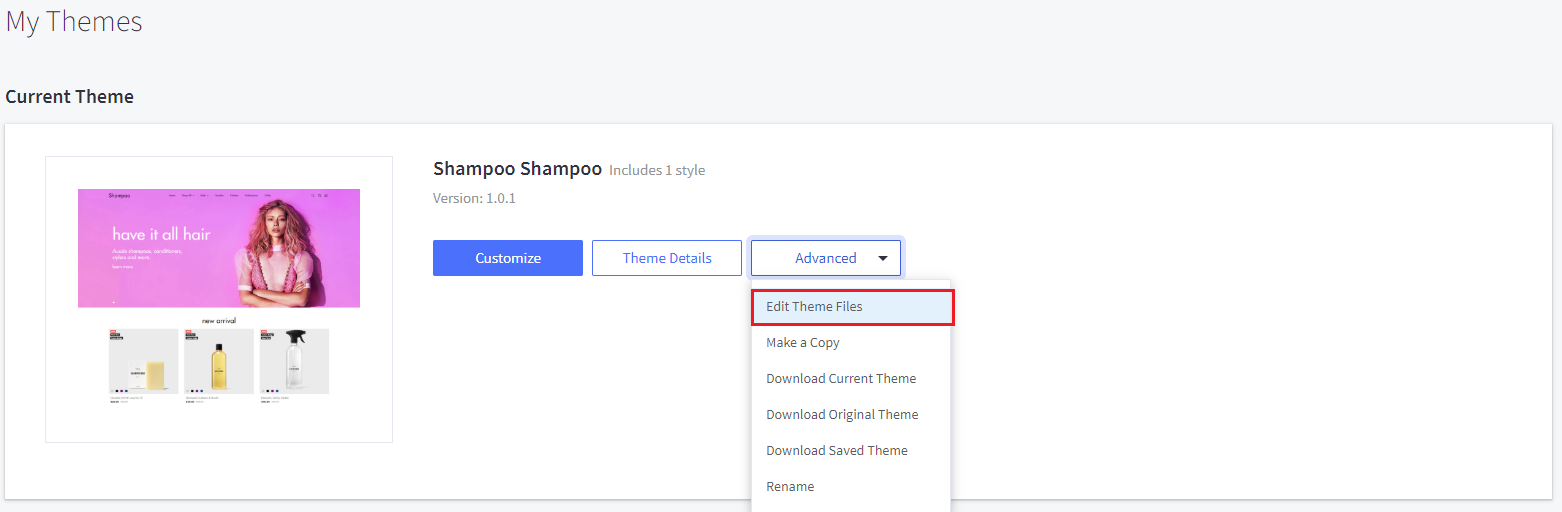
From admin page > Storefront Design > My Themes, click button Advanced > Edit Theme Files of the current theme:
From the left navigation, click to edit the language file (e.i en.json):
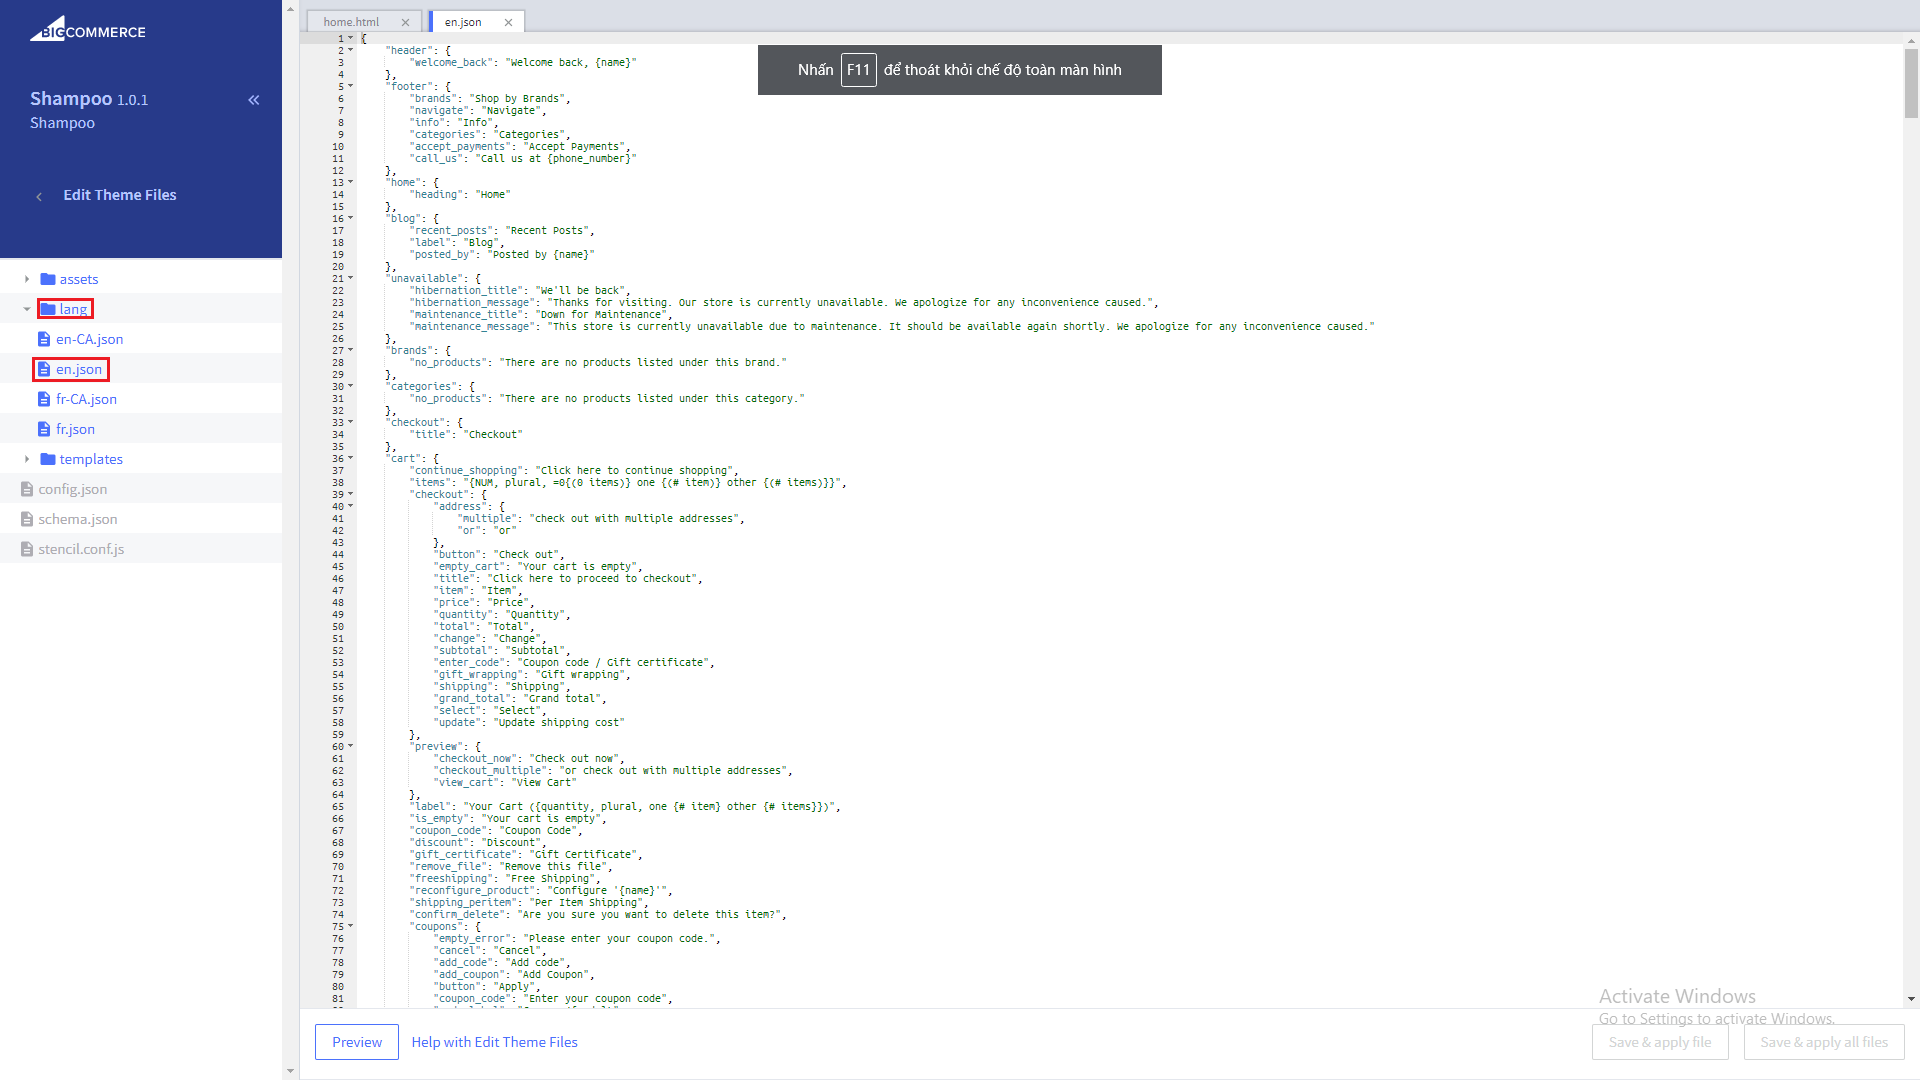
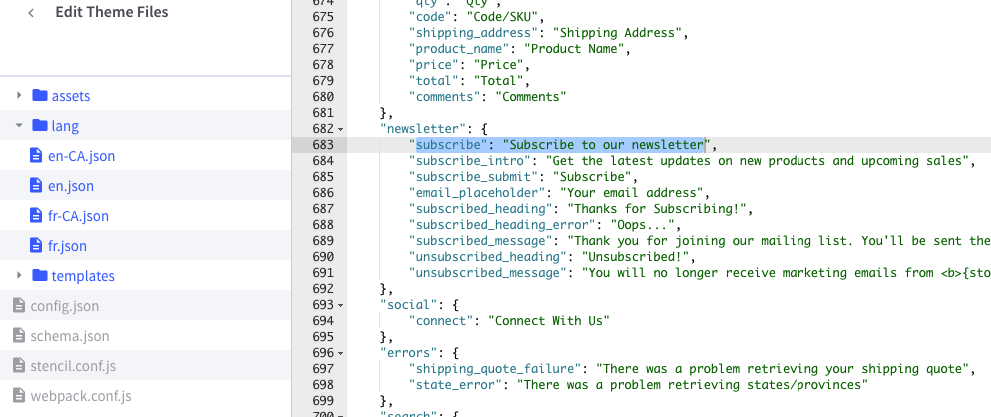
See the section Newsletter you can edit as you want:
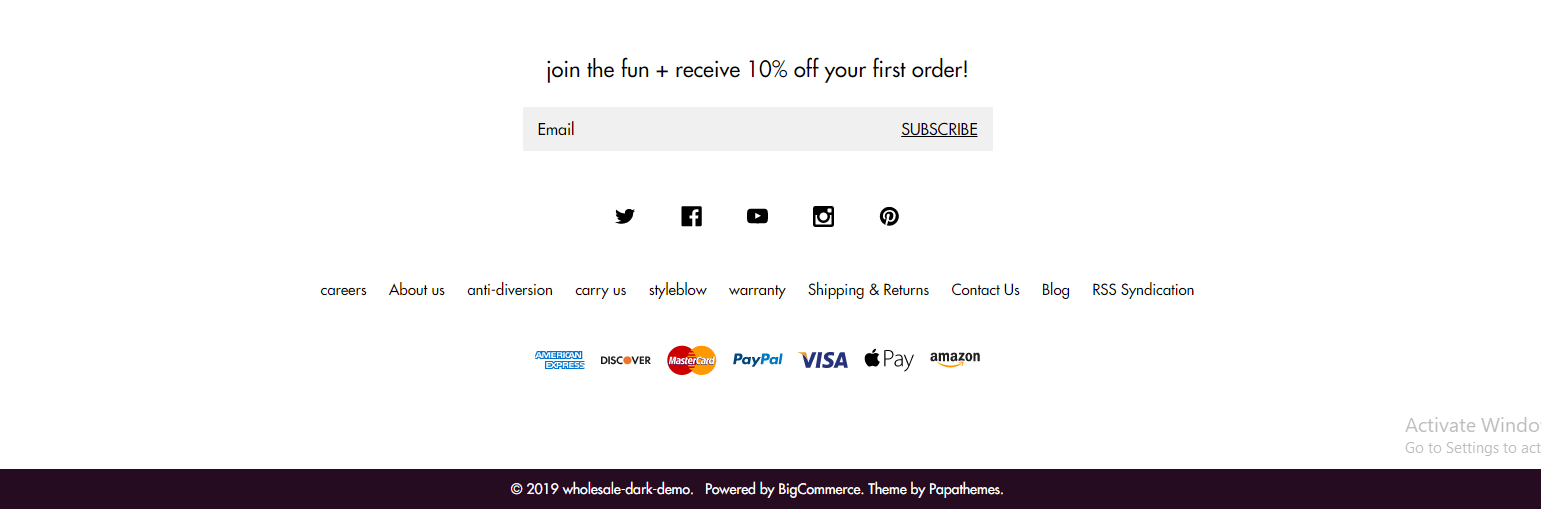
Social Media Icons
![]()
You will need to configure which icons to appear in admin panel > Storefront Design > Design Options, input your social links in Social Media section.
Payment Icons
![]()
![]()
To show/hide payment icons, go to Theme Editor > Payment Icons secitons, check or uncheck any icons you want to show or hide.
Credit Links
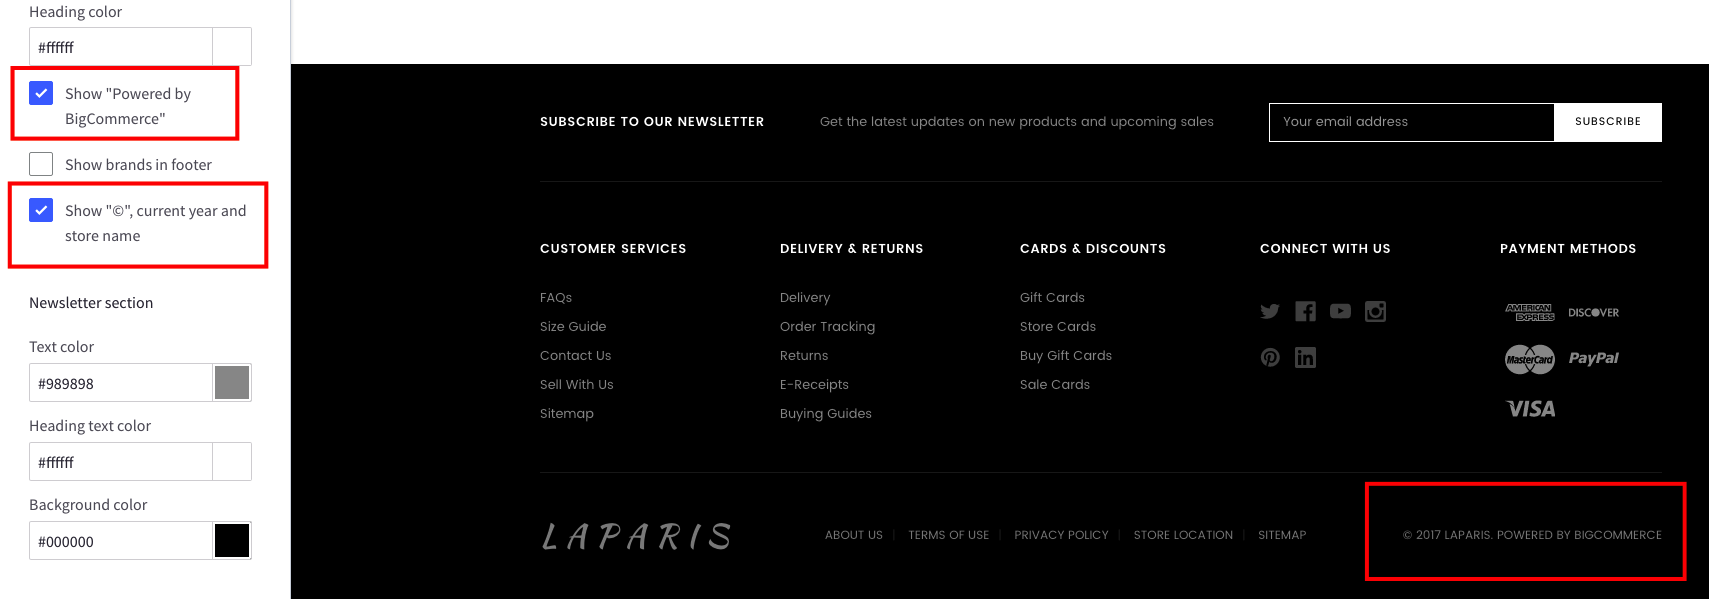
To show/hide the credit links, go to Theme Editor > Footer section, tick or untick the checkboxes as showing above.
Assign different product layout to a specific product page
Theme has 2 product layouts: default and Fullwith with Lightbox.
Product layout fullwidth:
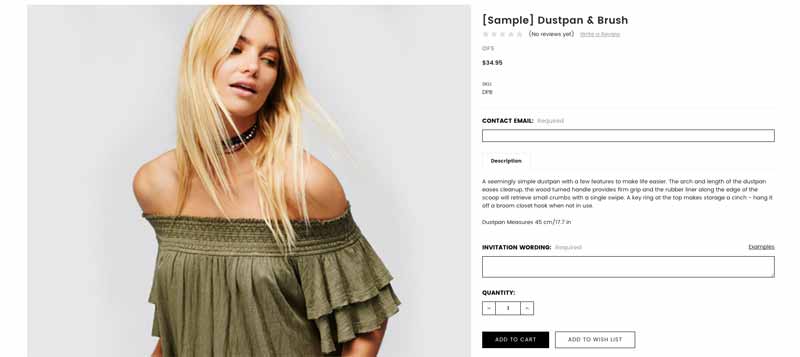
To assign a product layout, edit your product in the admin panel. In tab Order Details, choose Template Layout File with the layout out want:

Assign different category layout to a specific category page
Theme has 2 category layout: default and Fullwidth.
Category layout fullwidth:
To assign a category layout, edit your category in the admin panel. Choose Template Layout File with the layout out want:

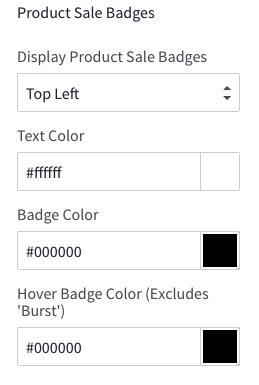
Show custom product labels
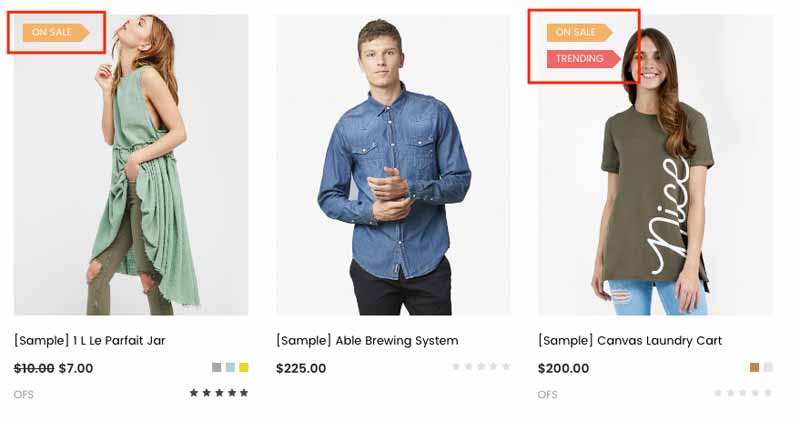
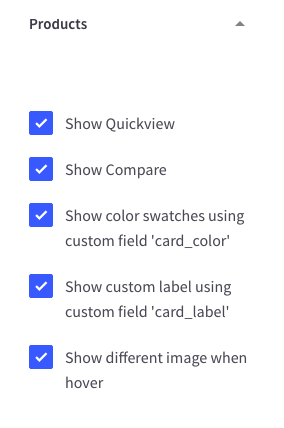
Turn on displaying product labels in the Theme Editor > Products section, tick on the checkbox Show custom label using custom field 'card_label' and choose Display Product Sale Badges as Top Left.
Edit your product in the admin panel to add custom label:
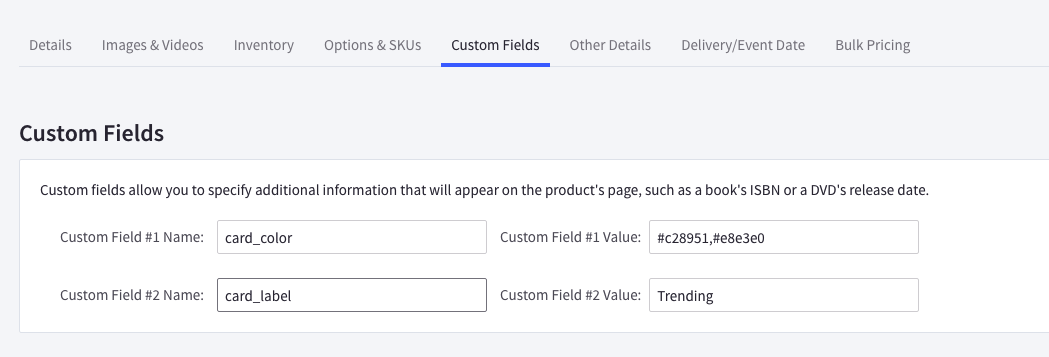
Add a custom label named card_label and enter label text in the value input box.
Show color swatches on product card:
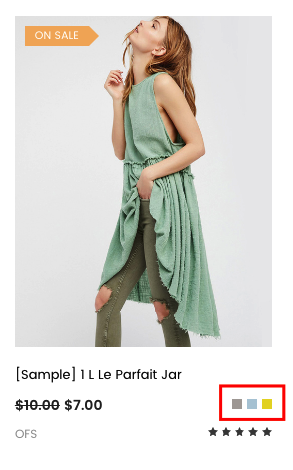
To display color watches on product card, open Theme Editor > Products section, tick on the checkbox Show color swatches using custom field 'card_color'.
Edit your product in the admin panel to add custom label:
Add a custom label named card_color and enter color hex code in the value input box seperator by commas.
Add our own CSS (Sass) code
To add your own custom CSS code you can edit the file assets/scss/_theme-custom.scss_ in Edit Theme Files editor:
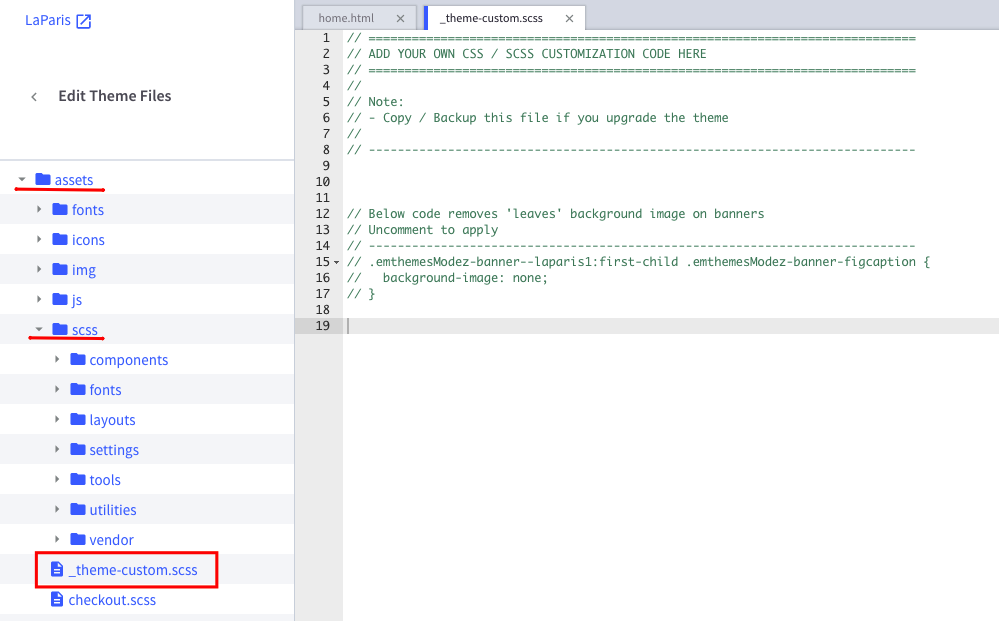
Note:
- Copy / backup this file for future theme upgrade.
- Add custom CSS code required CSS (or Sass) programming skill. It's not recommended for new users.