Block Sections
This is a powerful and unique feature of the theme, let you rearrange contents, show/hide contents block on the homepages without editing the theme's source code. And No HTML/CSS programming knowledge required.
In the Theme Editor > Homepage. There is 10 sections (or placeholder), where you can pick a content block to show on.

- Section 1 is a placeholder which only support Carousel block - the main image slideshow.
- Section 2 to Section 10 are placeholder which support the following blocks:
- New Products
- Featured Products
- Popular Products
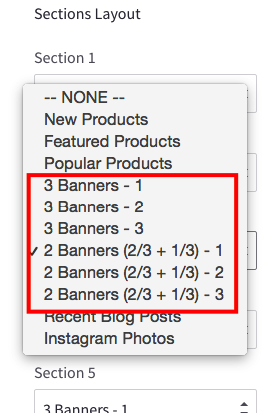
- 1st Two Banners 2/3 & 1/3 Column
- 2st Two Banners 2/3 & 1/3 Column
- 3st Two Banners 2/3 & 1/3 Column
- 1st Three Banners 1/3 Column
- 2st Three Banners 1/3 Column
- 3st Three Banners 1/3 Column
- Recent Blog Posts
- Instagram Photos
New / Featured / Popular Products Blocks
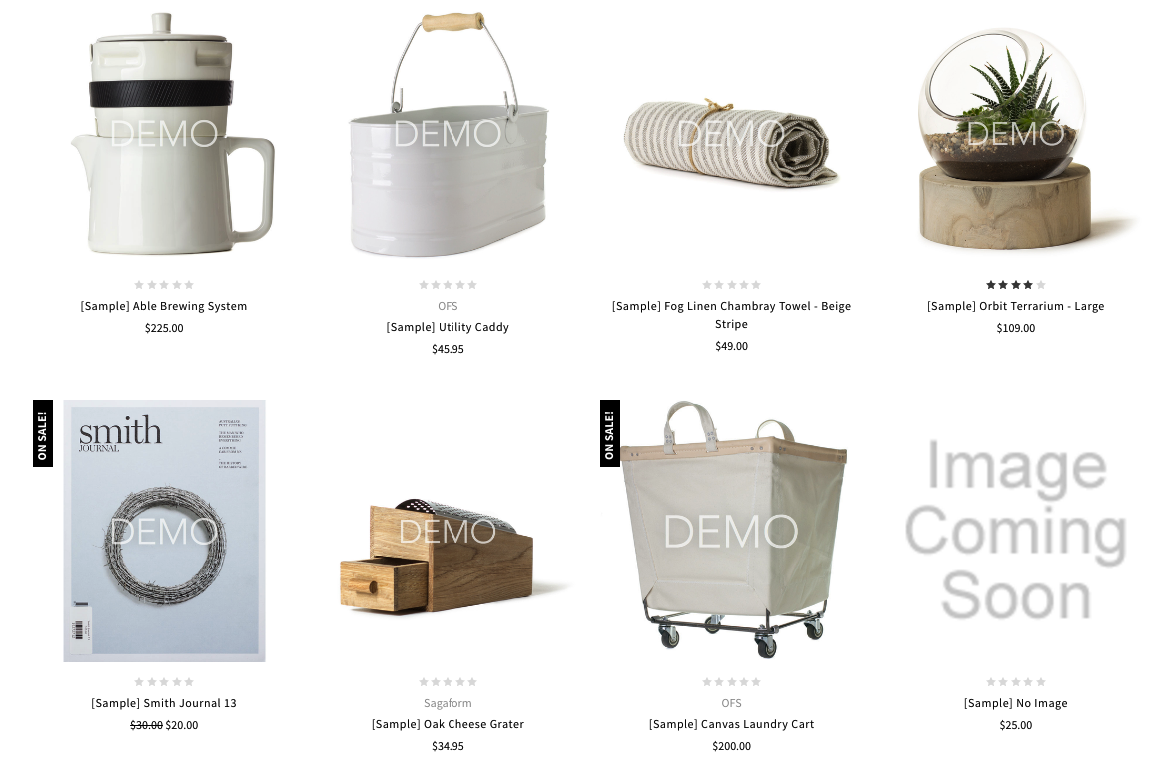
The theme supports 3 layout type of New Products, Featured Products and Popular Products blocks:
- Grid
- List
- Carousel
Products Grid:
Products List:

Products Carousel:

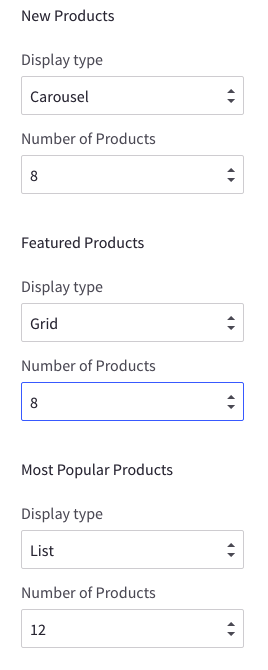
Configure a Layout Type of products block & Number of Products to show up
In the Theme Editor > Homepage, look into New Products section (or Featured Products, Most Popular Products):
- Display type: Choose appropriate layout type (Grid, List or Carousel).
- Number of Products: Choose number of products to show up.
Show/Hide Quickview button
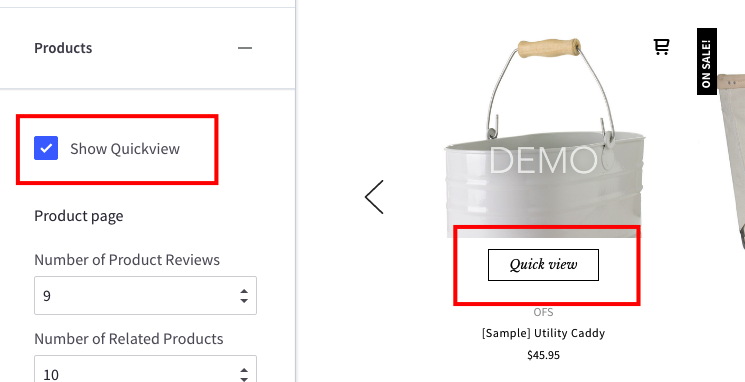
When hover on a product item, Quickview button is showed up by default. To disable this feature, uncheck the checkbox Show Quickview in the Theme Editor > Products section.
Change colors and image sizes
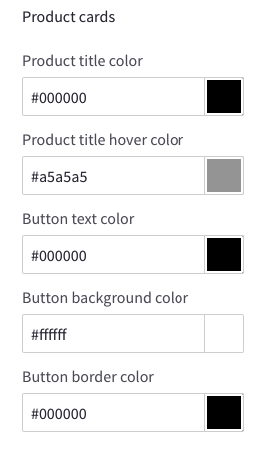
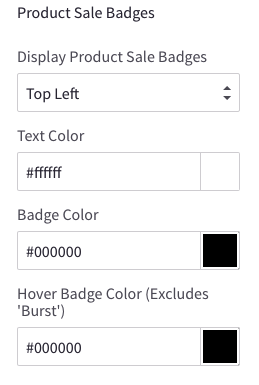
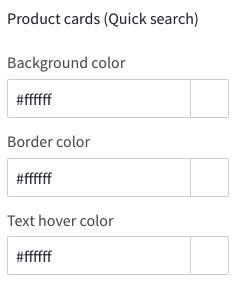
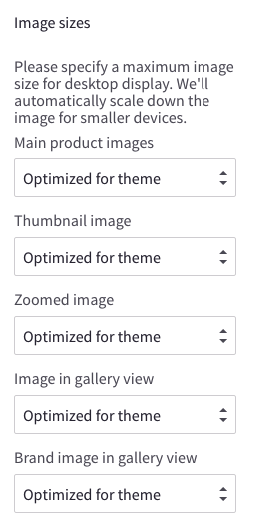
In the Theme Editor > Products section, Look into the color options below Product cards, Product Sale Badges, Product cards (Quick search) and Image sizes's options.
Change the heading text
To change the heading text (New Products, Featured Products, Most Popular Products), edit the language file, look for the key products > new or featured or top.
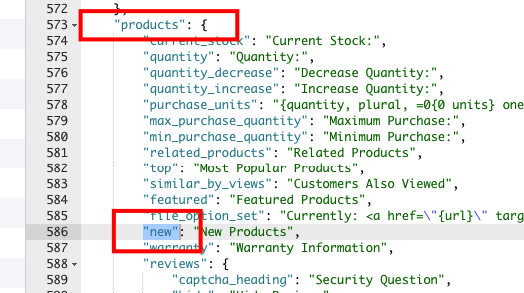
Image Banners
The theme supports 2 type of banner blocks:
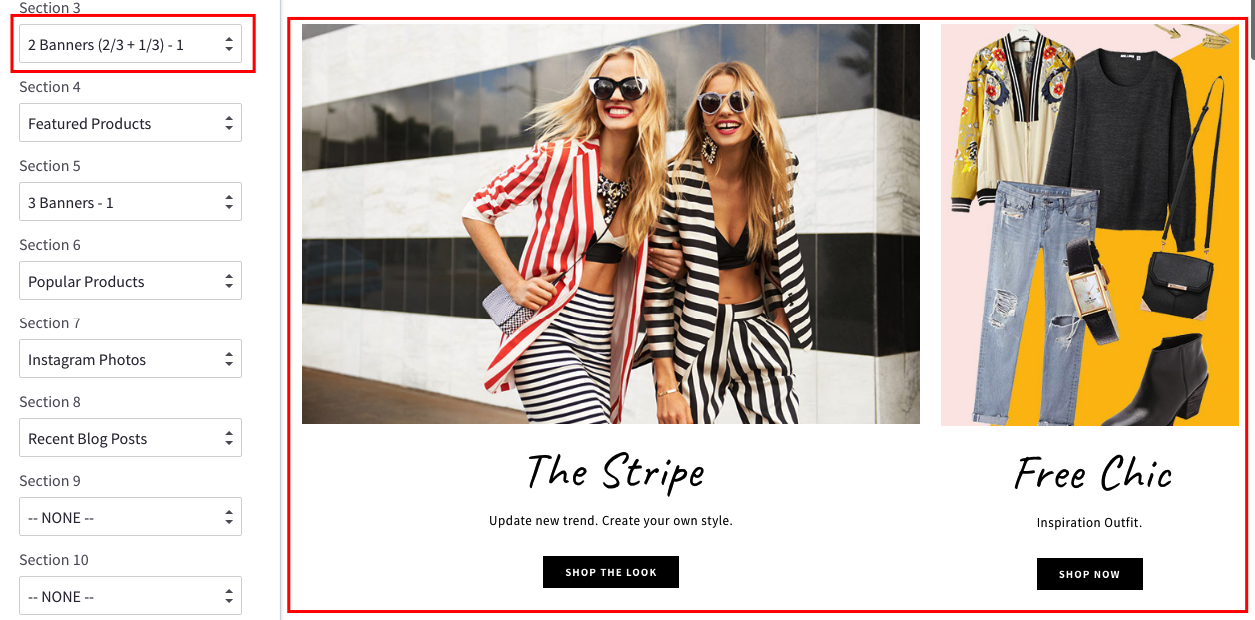
- 2 Banners with size 2/3 column & 1/3 column.
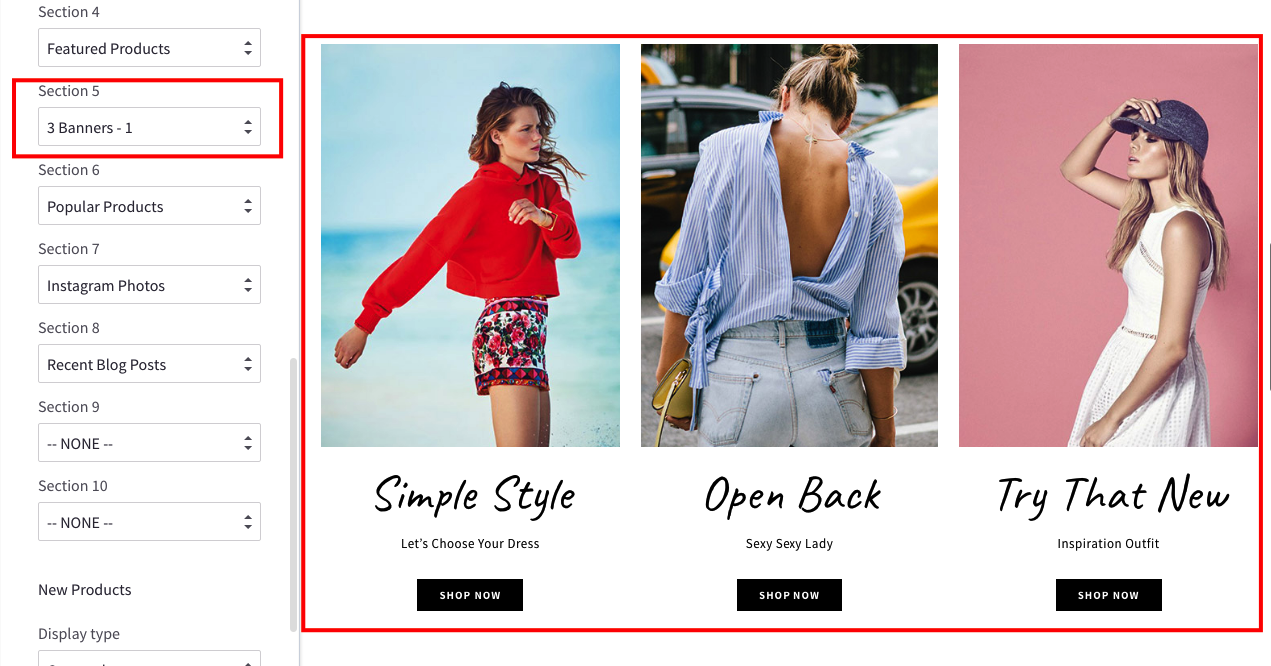
- 3 Banners with the same size 1/3 column.
Group of 2 banners size 2/3 & 1/3 column
Group of 3 banners same size 1/3 column
Each banner type supports up to 3 instances.
Edit banner text and images
To change banner images, heading text, description and buttons, edit the language file, find the key emthemesmodez > banners:
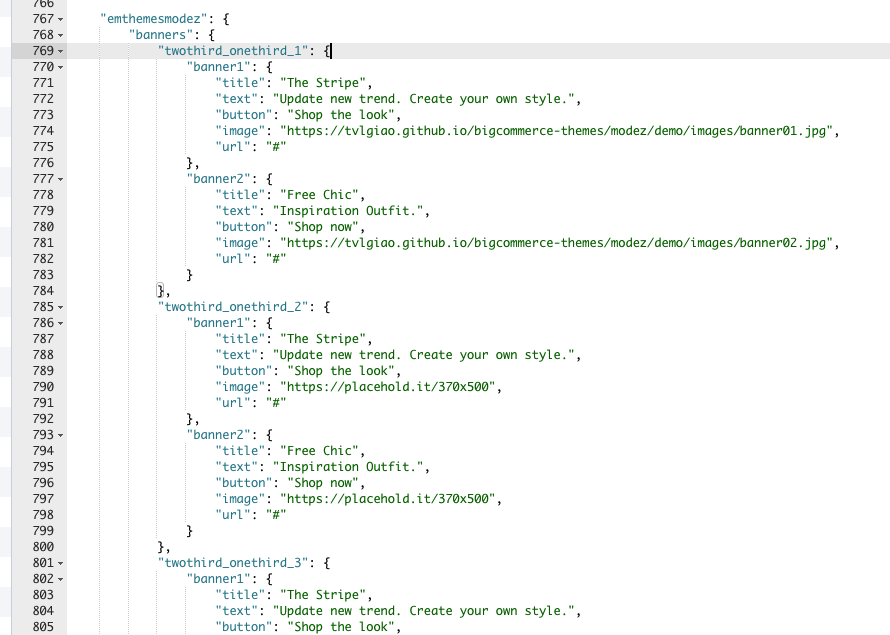
twothird_onethird_1: The first group of 2 banners with size 2/3 column & 1/3 columnbanner1: Is the first bannertitle: Banner heading texttext: Banner description textbutton: Button textimage: Banner image URLurl: Image and button link
banner2: Is the second banner
twothird_onethird_2: The second group of 2 banners with size 2/3 column & 1/3 columntwothird_onethird_3: The third group of 2 banners with size 2/3 column & 1/3 columnonethird_x3_1: The first group of 3 banners with size 1/3 columnonethird_x3_2: The first group of 3 banners with size 1/3 columnonethird_x3_3: The first group of 3 banners with size 1/3 column
If you don't want to show any elements of a banner, for example the button, leave the value a single space character. Example: "button": " ".
Recent Blog Posts
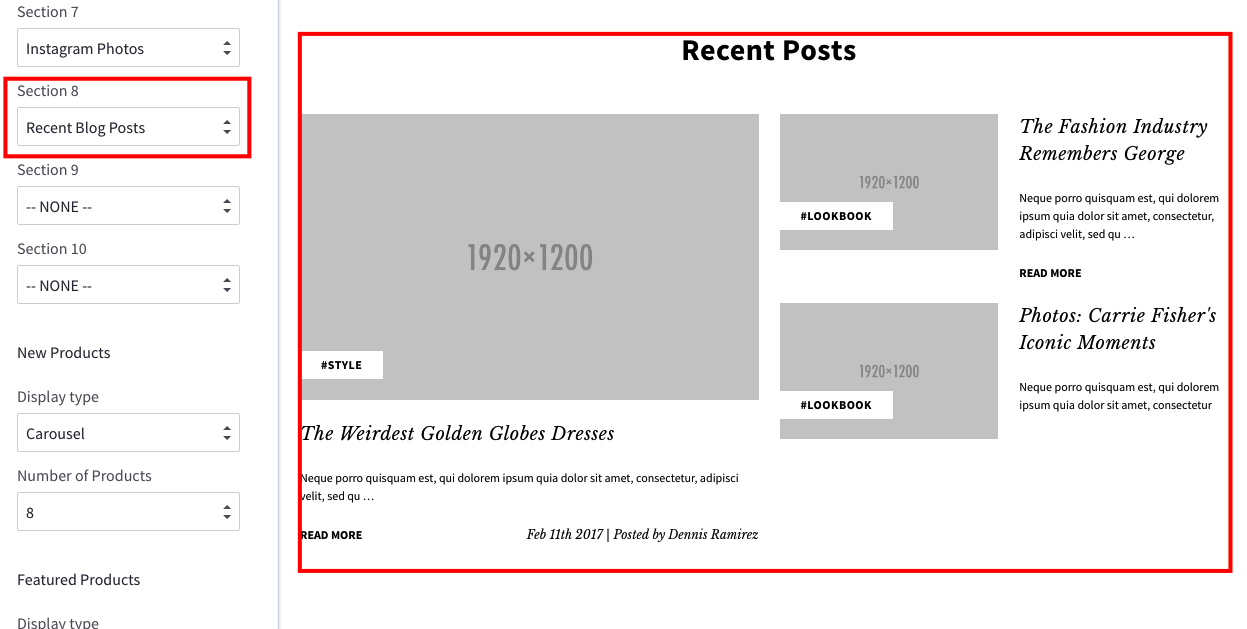
This block show the most recent blog posts, maximum 3 posts are allowed to show up.
Customize heading text and other text
To change the heading text, read more text and date format, edit the language file. Find the key blog > recent_posts, posted_by and read_more, edit its values as you want.

Instagram Photos

Get your own User ID, Client ID, Access Token
In order to display your Instagram photos on your website, you will need to get the User ID, Client ID and Access Token from Instagram Developer portal.
1. Create your own Client ID
Open the URL https://www.instagram.com/developer/ in your browser.
Login to your Instagram account.
Click button Register Your Application:
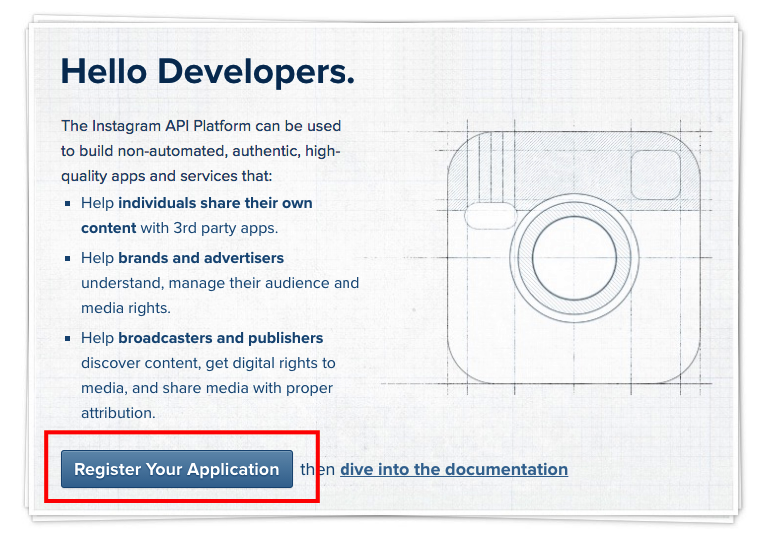
Click button Register a New Client:

Enter all required info on the form.
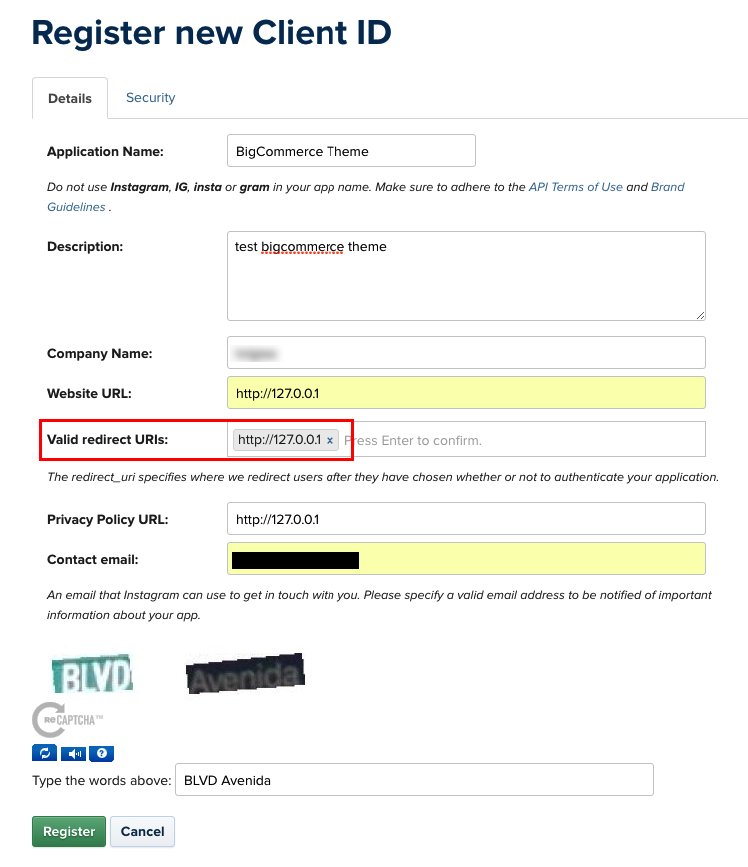
Note that Valid redirect URIs should be exactly http://127.0.0.1 as recommended as it will be used in the next step.
After submitting the form you will get back to the previous page with a new Client ID is created.
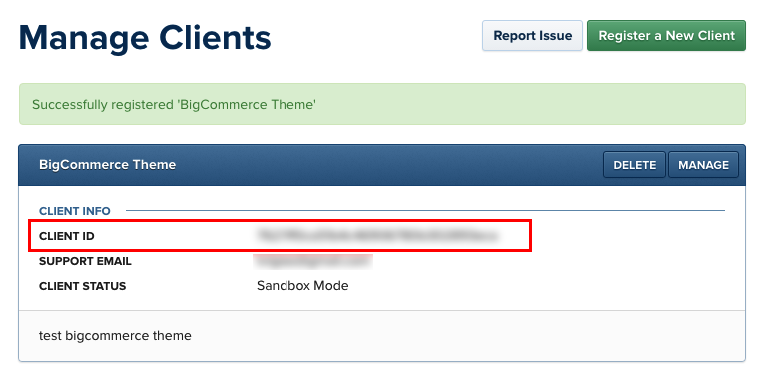
Save this Client ID value, it will be used to configure the Instagram Photos block.
2. Retrieve your Access Token
Click button Manage on your the client app created previously. Open Security tab, uncheck Disable Implicit OAuth checkbox:
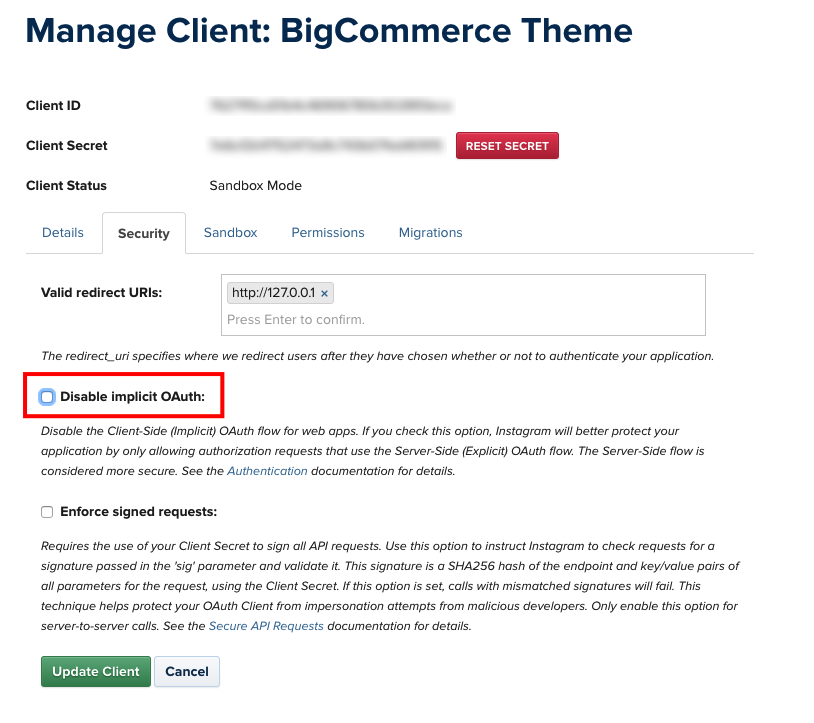
Click Update Client button to complete.
Now open your web browser with the URL:
https://api.instagram.com/oauth/authorize/?client_id=CLIENT-ID&redirect_uri=http://127.0.0.1&response_type=token
where CLIENT-ID is replaced by your Client ID number created previously.
Click Authorize button to grant access permission:
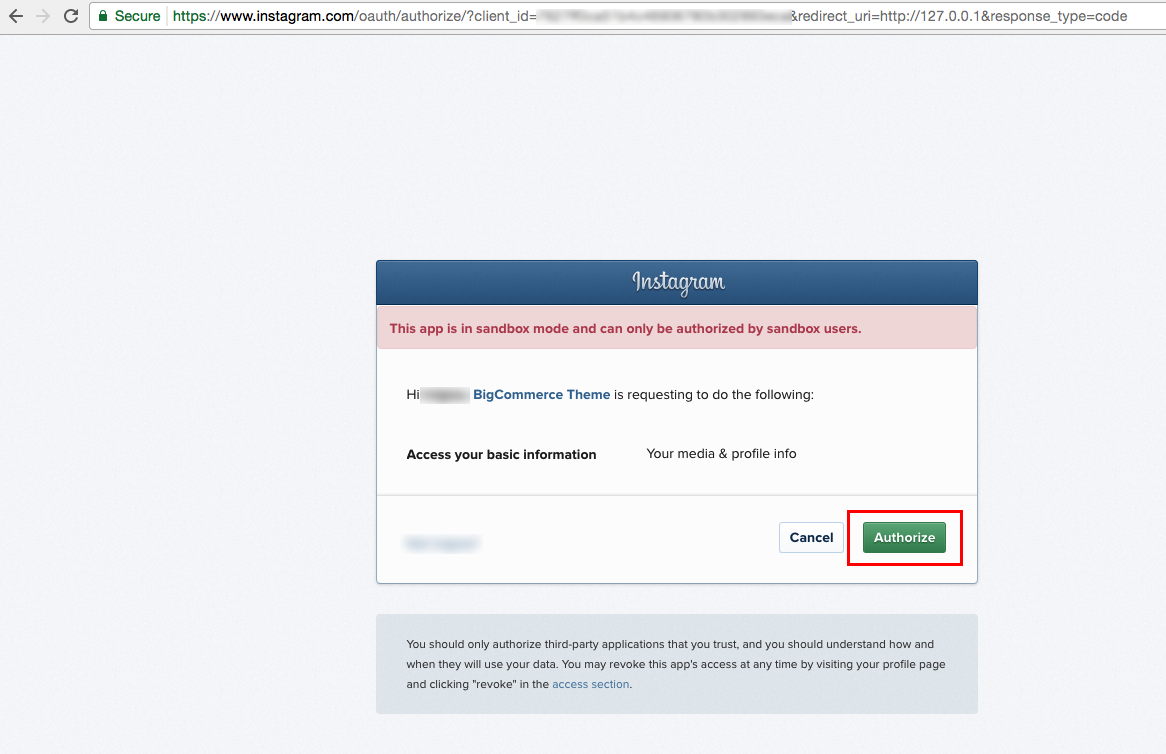
Instagram will redirect you to an error page with the URL similiar:

The text after access_token= is the Access Token you want to get. Save it for the next step.
3. Retrieve your User ID
Open the link below on your web browser:
https://api.instagram.com/v1/users/self/?access_token=ACCESS-TOKEN
Where ACCESS-TOKEN is replaced by your real Access Token just received previously.

The number in "id": "..." is your User ID.
Display your Instagram photos
To display our own Instagram photos, edit the language file. Find the key emthemesmodez > instagram, input your real code:
user_id: Is your Instagram User ID.client_id: is your Instagram Client ID.access_token: is your Instagram Access Token.title: Is the heading text.
